Our dining room ceiling was pretty sad when we moved in: fugly acoustical tiles and unfortunate saggy bits. Something needed to be done.

I pretty much assumed that there was some reason that there were acoustical tiles there instead of plaster, so I wasn’t terribly hopeful for the condition of the ceiling underneath. I figured the safest course of action would be to plan on covering the ceiling. Added bonus, a faux tin ceiling would be a pretty snazzy, and fairly period-accurate detail for the house and it would bump up the formality of our dining room a bit.
After doing some research and crowd-sourcing ideas from Facebook, I decided on this pattern:
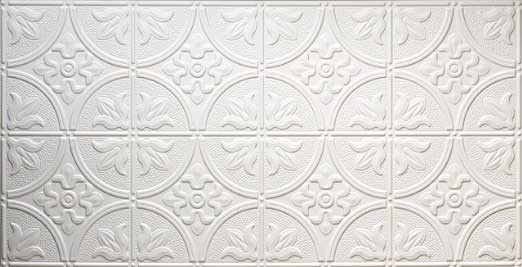
It was one of the more affordable options (yay!) and after looking at a few companies who still used the same patterns they did back when they made actual tin ceilings, this one popped up a lot. You can find it in several different scales, but I opted for the 2-by-4 so each square on the panel would be roughly 1sqft. This was the same size as the existing titles so I already had a good reference for how it would look.
Immediately after moving into the house we had several things tested for asbestos, including the ceiling tiles. I knew we were planning on ripping them out and I wanted to be sure it was going to be safe to DIY. Thankfully the test results came back negative so we were good to go!
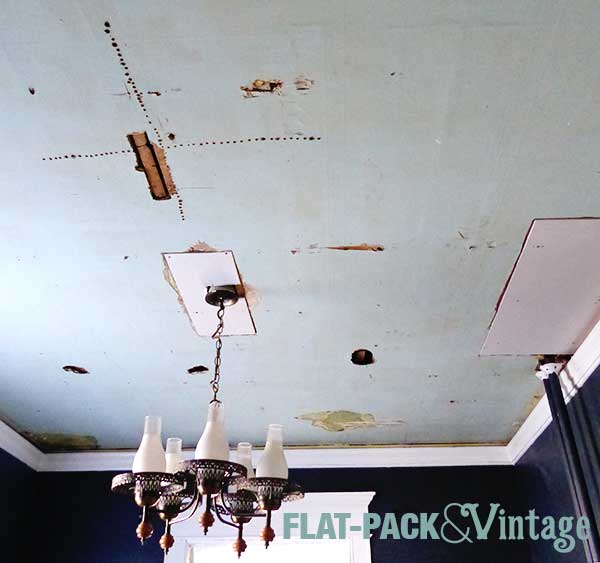
My back has been killing me for the past couple weeks so Matt removed the ceiling while I curled up with a heating pad and researched massage therapists. And yup, it was more-or-less what I expected to find underneath (except there was modern wiring!!!!)
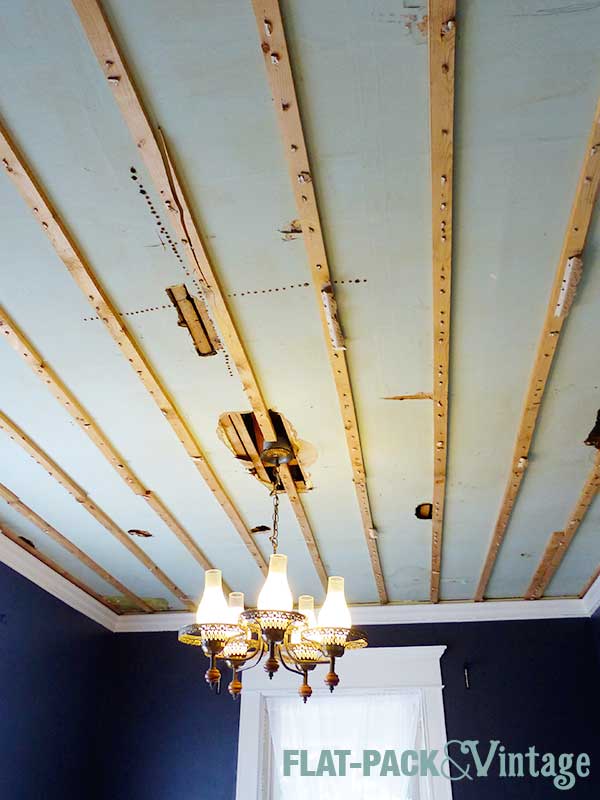
We originally thought we were going to keep the 1x2s so we wouldn’t have to mess with the height of the crown molding. This did mean we had to pull out all the staples, which Matt did over the course of a couple evenings.
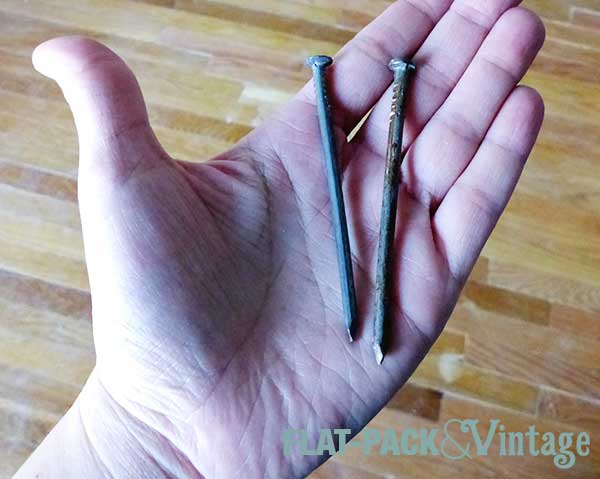
Then the tiles arrived and we re-assessed matters. After going back and forth a bit we decided that prying out the boards and semi-patching the holes would make putting up the tiles way easier in the long run…. so Matt went to work prying off the 1×2’s. It probably wouldn’t have been so bad except a former owner of this house was clearly a strong believer in overkill so a number of nails holding up the boards were HUGE.
Matt pulled out most of the boards without incident, but there were two runs that were clearly put up before the crown molding was so there wasn’t enough space to pry the nails entirely out. We tried a metal hand saw, but it while it might have worked on a sheet of aluminum, it wasn’t going to get through a chunky steel nail. So we went shopping.
There are some good options out there, like reciprocating saws and the Dremel Multi Max, but we didn’t want to spend a lot. We eventually settled on a pair of 14″ bolt cutters which were just small enough to fit in the little gap we made after prying the boards as far away from the ceiling as we could.
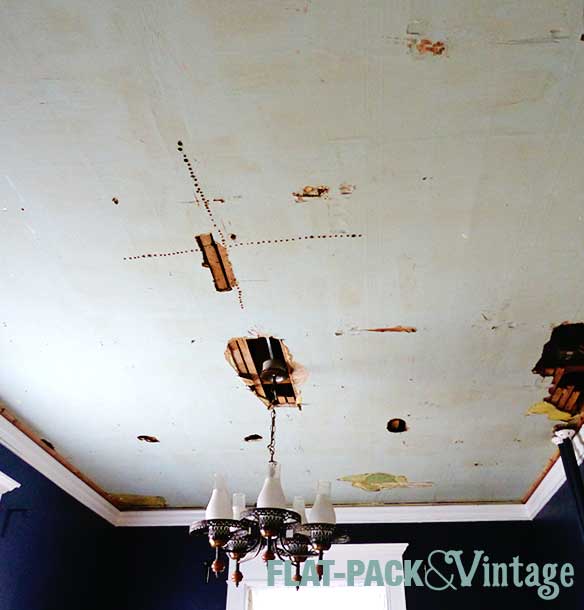
After prying off all the boards, we had to deal with the two biggest holes (we decided the smaller ones shouldn’t be a serious issue). Matt removed some extra plaster to make the holes squarer and then we cut and screwed up 3/8″ drywall. We didn’t bother taping and mudding because it’s not going to be visible, we just needed a solid surface to glue the tiles too.
As with any project, prep-work is half (or possibly even three quarters) of the battle, but all the extra work should make the tile install go much smoother.