So on Day 1 we demoed out the bookcases and most of the baseboards and then patched in some drywall over the now exposed lath board. Today we started taping and mudding all the drywall seams.
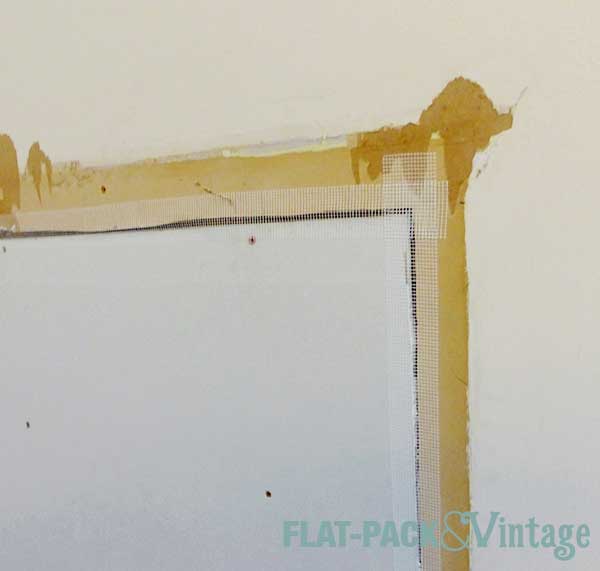
I started with a self adhesive mesh tape on the all the flat seams and then covered them in a layer of joint compound. I used the mesh tape because that’s what we still had from patching smaller areas. It’s not actually recommends for larger areas. Oops.* You can see how gappy the join is between the 2 pieces is here.
For joint compound we’re trying out this stuff since it comes pre-mixed (lazy) and claims to be dust control. We’ll see. If we were working on a much larger area I may have gotten the stuff you mix yourself, but we’re trying to keep things as simple as possible.
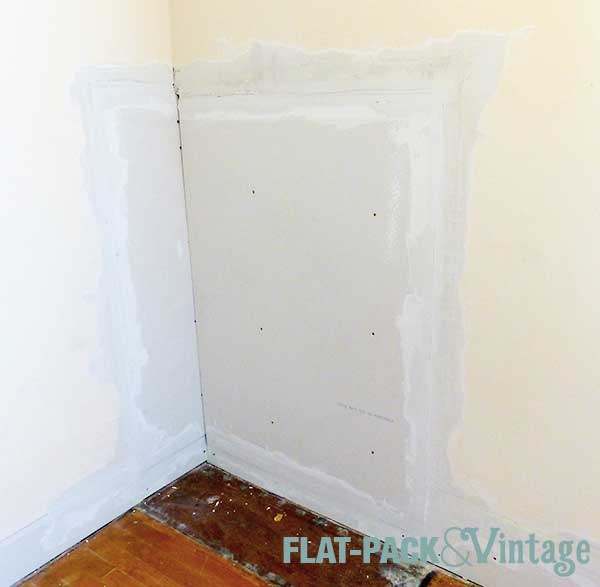
After the flat seam got a layer of joint compound I tackled the inside corner. The first video I watched recommend a corner trowel, but I have a about 4′ worth of corner… did I need to buy a specific tool? Really? Then I watched this video of how to tackle an inside corner without a corner trowel. Ok, I got this.
For corner seams you need the paper drywall tape (really need). It come pre-creased so you just have to rip a piece as long as your corner and fold it in half so it fits right inside the corner.
This stuff is not self adhesive so you will have to put down a layer of joint compound first. Be generous but not gloopy, and if you’re worried about how much you’re putting on err of the side of a little too much. I ended up with a small bubble since I didn’t lay down enough joint compound in one spot. Oops.

Once you’ve added a layer of joint compound on each side of the corner, press the tape into place with your fingers so it sticks. Next, take your putty knife and scrape down along the tape with a firm even pressure. This will more solidly adhere the tape and sort of squeegee out any extra joint compound. Then do the same thing on the other side of the tape.
If you’ve decided to forgo the corner trowel to save yourself $6** you’ll just have to work one side at a time. Now you’ll layer joint compound over the tape like you would on all the flat seams. Wait for your first layer to dry before tackling the other side otherwise your putty knife will just muck up the nice smooth joint compound on the first side. Like everything else in drywall it will probably take several coats, so one side, dry, other side, dry, and repeat.
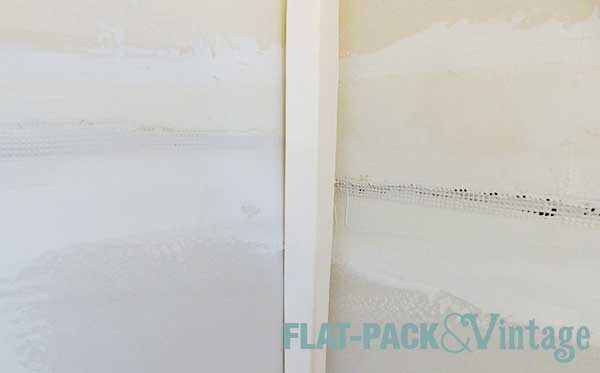
We’ve got some fun depth changes and assorted crappiness happening here so I’ve been working away on getting everything feathered out. This video was super helpful in getting a technique down.
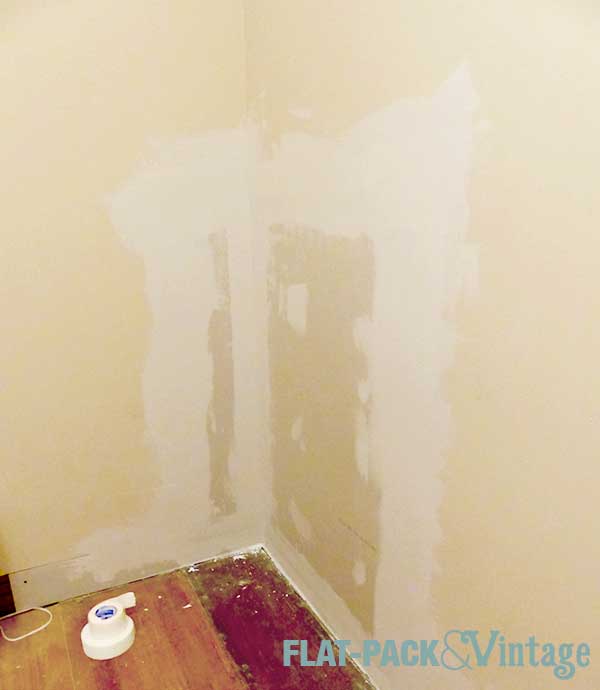
After a few evenings of work it’s starting to look pretty decent, but I definitely have a little more work to do.
*There’s actually some conflicting info about which tape you should use when… but the general consensus is that the mesh is ok for small patch jobs, especially with plaster (but should be used a quick setting mud), but paper tap should be used for pretty much everything. Research first people. I think we’ll be ok though… I’d be a little more worried if we were doing the whole room.
**Yeah, I know, it’s the principle of the thing.
So… WAS it good dust-control?
Of course, the nice thing about the mix-it-yourself mud is you can get it so you only have to wait an hour or two between coats. 🙂
Hard to say since I haven’t used the non-dust control. We did get a very fine layer of dust over most of the dining room, but the majority of it seemed to drop right to the ground rather than linger in the air and float away. I’m going to call it a success since I could still breath after I took my mask off and I’m pretty sensitive to dust in the air.