Happy Halloween everyone! Costumes? Candy? This is seriously one of my favorite holidays! Being 6 months pregnant, sore, and exhausted has made me tone things down quite a bit this year so we skipped hosting our usual Halloween party and didn’t do a family theme costume.*
I did put together a costume for Wesley though! He’s still a little young to fully understand Halloween so I wasn’t really able to get an answer to a general “what do you want to dress up as” question. He has been more interested in dinosaurs and dragons lately so I asked him if he wanted to be a dinosaur or dragon and he happily replied “Dinosaur dragon!” Yeah, ok kid we’re just gonna pick one since a dragon is more or less a dinosaur with wings. Later he changed it to dragonfly (which I still came up with a plan for) then changed back to dragon before I got started on anything.
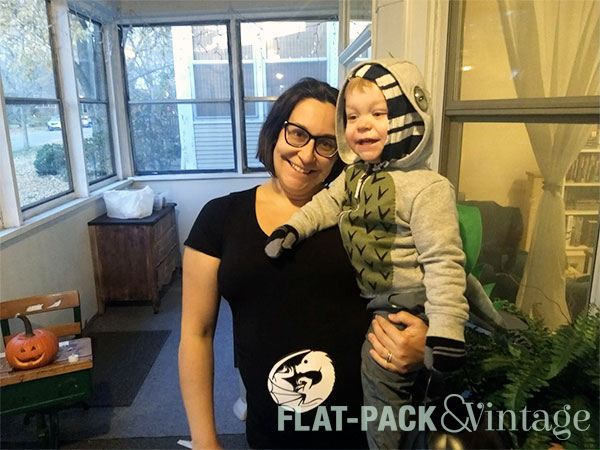
Yup, kiddo has a hoodie on under a hoodie. That’s a Minnesota Halloween for you…actually given that he didn’t need a snow suit it was pretty warm Halloween. I put on a jacket as soon as we had snapped this picture.
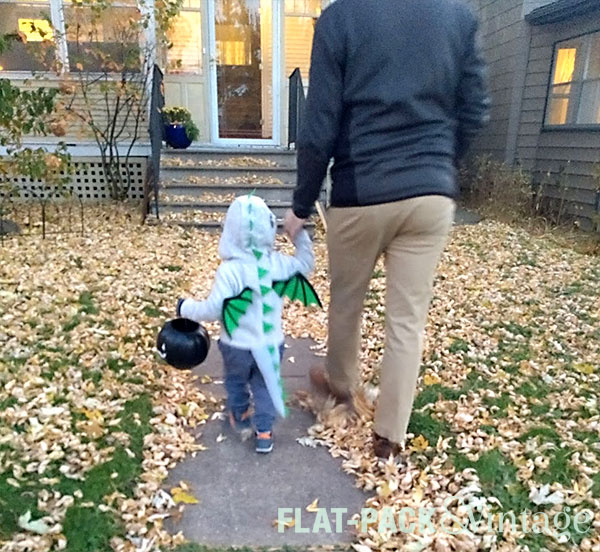
They did some Trick-or-Treating at daycare and then we took him down the block later in the evening. I wasn’t sure what he would think of it, but he LOVED it! He even got pretty good at saying “Trick or Treat!” and “Thank you!”… with a bit of prompting.
His costume was pretty simple to put together since it was just a hoodie with a bunch of stuff sewn onto it.
Step 1: Plan your design
For a dragon costume, I wanted spikes running down the back, a tail with spikes, wings, and a contrasting belly patch. I figured I could easily put it together with a few sheets of felt and some jersey that matched the hoodie.
Step 2: Get Distracted by all the awesome costume fabrics
I went to Joann’s to pick up some jersey and felt…. but then I saw all the amazing, shiny, costume fabrics they had out for Halloween. I found a scaley pattern that didn’t seem to fray and a coordinating iridescent fabric that I figured I could just glue onto felt for the spikes. I wasn’t deviating that much from the plan, just a little extra gluing. Easy-peasy, right?
Step 3: Immediately regret your life choices
Wrong. The damn iridescent fabric proved impossible to glue. It was also an acetate sort of fabric, so iron-on adhesive or stabilizer was out because there was a good chance of melting. I briefly considering sewing triangles for the spikes out of a few layers of the shiny fabric, but that would have been a PITA as well.
Step 4: Cut your losses, return to your original Plan
Back to Joann’s I went… for the felt I originally planned on. I got 2 sheets of a stiffer green felt for the spikes and wings, 2 sheets of a contrasting standard felt for the belly and underside of the tail, and 1 sheet of black adhesive felt for some contrasting details (wing bones and belly scales). I lucked out and found a pack of super-awesome stick-on dragon eyes, but you could use large googly eyes, or even some black and white felt.
From there I cut out some pretty basic shapes and hand sewed everything to the hoodie. If you want to make it even easier you could glue everything (although I’m not sure how well that would work for the spikes) or use an iron-on adhesive (ditto). The tail consists of 3 triangles (2 gray, 1 green to match the belly color). Spikes got sandwiched between the gray pieces and all 3 triangles were sewn together to make a cone shape.
My “costume” was even easier. My original plan was bust out my brand spankin new Cricut and cut the dragon embryo design out of glow in the dark vinyl (nothing iron-on since I wanted to be able to peel it off the shirt later). Well, time got away from me so I ended up printing the pattern on full-sheet label paper I already had on hand and sticking it to my shirt. It’s not super solid, but it got me around the block.
* Matt may be thankful for the last part