And Then Our House Rebelled

Image via Giphy

Around 3:30am on Saturday our smoke detector decided to lose its shit.  It started beeping and loudly announcing “low battery!” Around 4am Matt decided to go an rip out the batteries.  That was when he discovered that the smoke detector in the hallway is hardwired. Yup,  our smoke alarm woke us up at 3:30am because the backup battery was bad.

Luckily we had extra batteries, so Matt grabbed a replacement…only to find that the previous battery was also rather corroded and the gunk left on the battery connectors was now impeding its ability to sense the new battery.

Now, I’m still in bed at this point so all I hear is Matt shuffling around the house like he’s playing some twisted game of Marco Polo with the smoke alarm. Then the alarm suddenly starts shrieking “Fire! Warning carbon monoxide! Fire! Warning carbon monoxide!” I start laughing like an idiot because now I’m convinced our smoke detector is just straight-up broken and of course that would happen at 4am.

Turns out Matt hit the test button to see if that would act like a reset and get the alarm to recognize the new battery. It didn’t work. Obviously.  So now it’s 4:10am and I start googling how to remove a corroded battery because it’s either that or flee to a hotel.

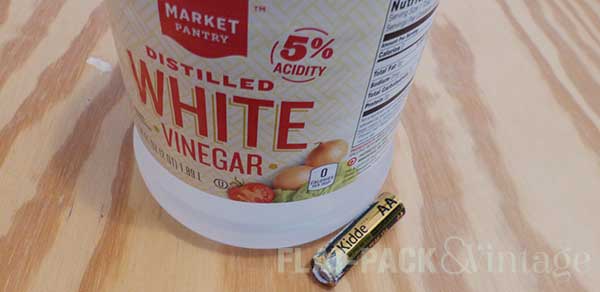
In case you’re wondering, vinegar will clean off battery corrosion. You should really use gloves/eye protection, and of course be very careful around the electrical workings of anything–especially when it’s still connected to power.
You’re welcome.

After Matt and I properly woke up for the day, we went on a walk to get breakfast since we’re having a January heat-wave at the moment.* When we got back, I went to haul in the baby gear and the baby, and Matt stayed out to salt the walkways. I left Wesley snoozing in his stroller next to the door while I dropped the diaper bag and pastries inside, then turned to go back out and grab the baby.

Only the backdoor wouldn’t open.

I checked the locks. It was unlocked. I fiddled with the locks (both the deadbolt and the simple lock for the latch we never use). Nothing. Was it stuck on something? Nope.

W.T.F.?

I finally went out the front door, walked around the back and tried to shove it open vs pull it open. No dice. So I tried and force it open with my shoulder TV cop style. Ouch. Finally I gave it a good swift kick (just to show it who’s boss), collected Wesley and schlepped around to the front door.

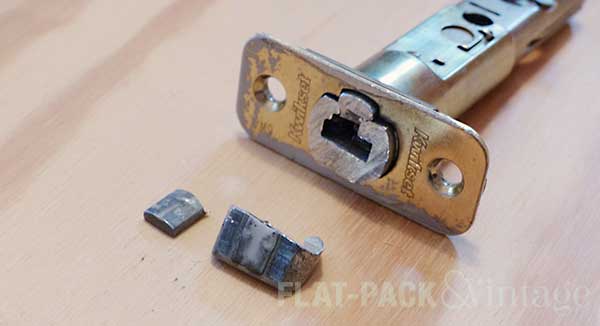
When Matt was done salting, he repeated everything I had just tried and nothing worked for him either.  It turns out that the bottom doorknob (which controls the latch) had inexplicably broken, so the knob could no longer retract the latch. This is a vital part of being able to open a door.

Step 1 was to run to the hardware store and buy a new latch set.  I also picked up a matching deadbolt because I really didn’t like the existing brass one we had so hey, excuse to update! We thought Step 2 would be as simple as taking off the door knob and wiggling the inner workings around. Nope. The inner workings were well and truly busted.
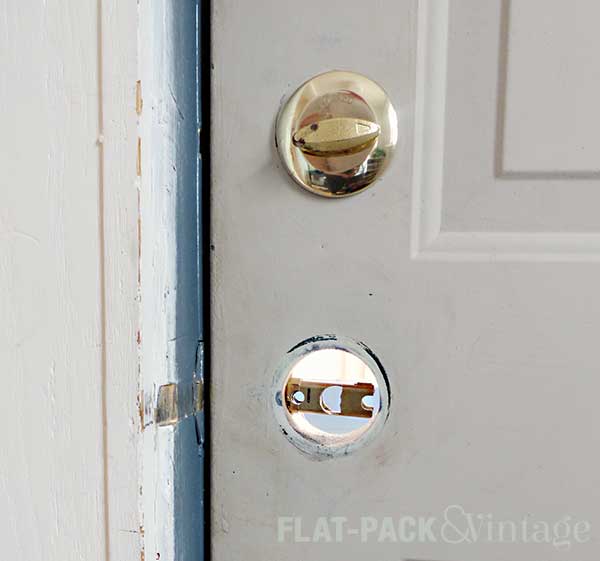
Matt went through our tool stash to try and find something he could shove between the frame and the door to push the latch back in,** but it still wouldn’t budge.  He asks me if I have any brilliant ideas, to which I reply “sure” and then immediately get to googling.***
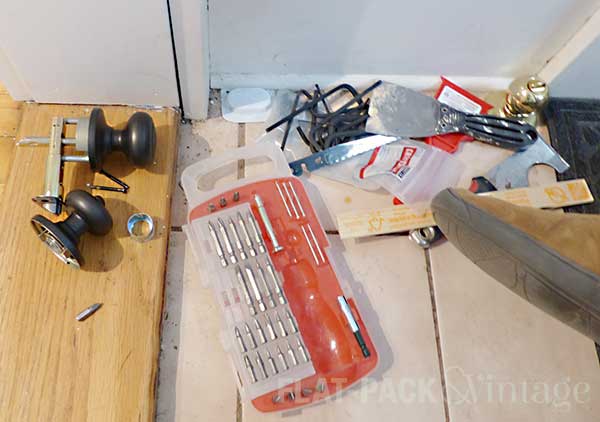
It turns out this sort of thing is not unheard of and found a fairly lengthy thread in a DIY forum dedicated to it. Long story short, if your latch is properly busted (like in our case) there isn’t an easy fix. The general consensus is 1) don’t bother taking the door off the hinges because that often doesn’t help and 2) either bust out your hack saw or call a locksmith.

We chose the hacksaw option and it took Matt around an hour to cut through.
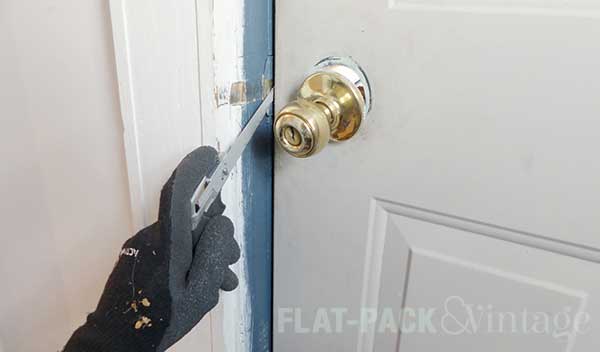
(We set the knob back in place to block some of the draft)
Thankfully installing our new latch and deadbolt was a piece of cake. Matt was very confused because I decided to try Kwikset Smartkey locks that let you re-key them yourself.  They were more expensive that the standard locks, but cheaper than bringing in a locksmith (and we really didn’t want 3 different keys for our house). They are SUPER simple to use to, so we were able to get our 2 back locks on the same key as our front lock in about a minute.
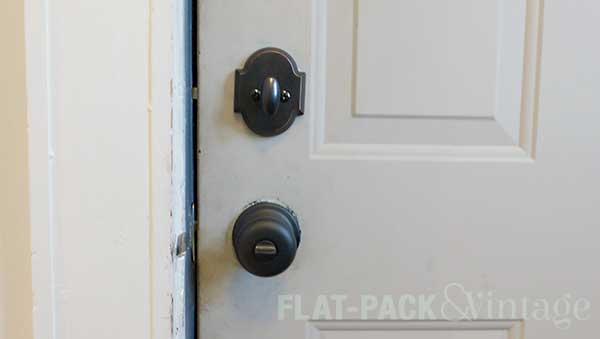
Once the weather legitimately warms up we’ll also paint the the rest of the door frame and repaint the door, since it looks a little sad at the moment.

Matt looked up the security of these locks and it sounds like they’re no better or worse than a lock that would require a professional to re-key. Plus, as one person put it: your house is only as secure as its weakest point and we all have windows.

So that was our Saturday.  We woke up to a demon smoke alarm and later I got locked inside the house. I have a feeling I’ve offended the DIY spirits in some way or else our house has spontaneously acquired a poltergeist. Maybe I should turn on our gas stove and shake some sage from our spice cabinet over it… If that doesn’t work, we are surrounded by churches so I could probably round up an old priest and a young priest.


*In Minnesota a winter heat-wave means anything over 30 degrees. Over the last 2 days I have seen 2 people outside in short sleeves, one guy in shorts, and several without jackets.

**During all of this we’re working from inside the house, so you have access to that tiny gap.  The outside of the door frame has trim pieces covering up this space.

***This is how I solve problems at work too. People think I’m smart, but really I just figure out good search terms.

Laborious Labor Day

Ok, not all that laborious, but Matt did go on a small project rampage on Monday.  I think he was trying to get some stuff out of the way because he was going to be stuck on double babysitting duty on Tuesday.  I has a sedation dentist appointment and basically wasn’t allowed to function* for the entire day so not only did he need to solo-parent Wesley, he also needed to babysit me. Luckily I survived** despite a nasty fear of the dentist*** and we’re back to tag-teaming projects.

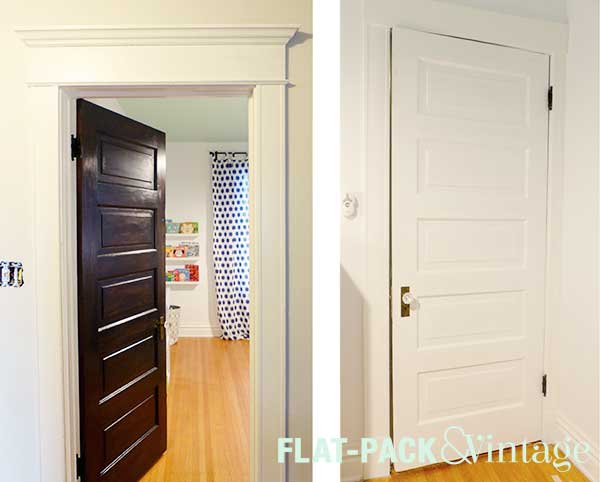
Now that I’m no longer pregnant (wheeee!) I’ve been able to get back to work refinishing the upstairs doors.  We tackled the nursery door first since it needed a little extra repair work. Matt stripped off the golden-oak stain and I re-stained and painted it.****  By Monday we were able to put it back up. Matt also replaced the mortise lock and switched out the black porcelain knobs with the glass knobs I ordered like, a year ago.

It’s also worth mentioning that the light switch cover in the hallway has seriously been off for at least a year. #safetyFirst

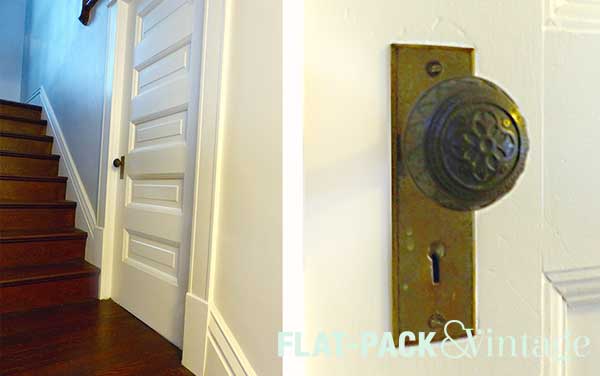
Our Winchester Door has also been sitting around with a gaping hole where the door knob should be.  Sure, the door can’t actually open, but I can’t remove it and drywall because I don’t have a good way to replace the baseboard.  Solution: embrace it’s complete and utter doorness. I wasn’t thinking about this door when ordered the knobs, so I didn’t have another glass one to use here.  We did, however, have this gorgeous embossed metal knob from the decaying cellar door in the basement.  Honestly, the embossed knobs are my favorite, but I thought the glass knobs would look better against the dark wood of the upstairs doors.

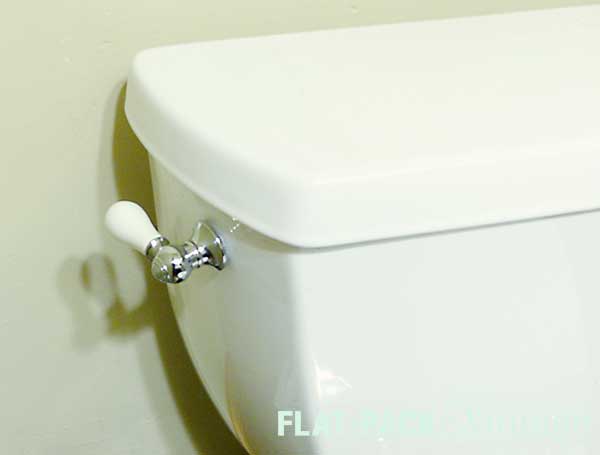
The final update seems really minor, but I smile every time I see it. The toilet handle in our downstairs bathroom has been acting wonky, so Matt decided to replace it.  Knowing me as well as he does, he chose the fancy porcelain handle option. It matches the faucet handles and as I said, it makes me kind of stupidly happy,

Even though I posted the Master Bedroom Plan, part of me wants to tackle our downstairs Micro-Bath before I head back to work.  It’s such a tiny room that it would actually be doable, but I know Matt wants to finish up the doors first. I may be a little ADD when it comes to projects so it’s probably a good thing he’s here to keep me in line.


*No driving, no attempting stairs, no being left unsupervised with small children, etc

**It actually went pretty well… although I remembered more than I expected too.  I also still panicked when confronted with needles which the dentist was apparently a little surprised by (although I did warn him that I can panic my way through nearly anything). Luckily I did not get belligerent with Matt, which is what I tend to do if someone is trying to coddle me.

***Step 1 in dealing with a dental phobia: find a dentist who’s not a condescending asshole.  This is surprisingly difficult.

****My original plan was to stain both sides, but Matt liked the doors better white on the inside and marriage is about compromise.

Save

Save

Dining Room Day 20: Enough with the Mudding!

I’ve been obsessing over this patch job for WEEKS now!  The better the mudding comes out, the better your paint will look… especially if you pick a paint with any sort of sheen to it–that sheen will just make every imperfection pop.  I happen to like eggshell for walls, it’s not shiny, but it’s not flat either (and if you have kids or a tendency to beat the crap out of spiders you find on your wall, you really don’t want a flat finish because it’s not cleanable At All).

Eyeballing your finish isn’t quite enough; if you really want it to turn out well run your hand over it.  You’ll end up feeling bumps you might not have caught otherwise.* After things were feeling pretty good with the hand test (not perfect mind you, but pretty good) I went over everything with a coat of primer.  Once everything’s an even color it’s also easier to pick out areas that looks a little off, just make sure to check it out as the lighting changes throughout the day.

DR_20_1

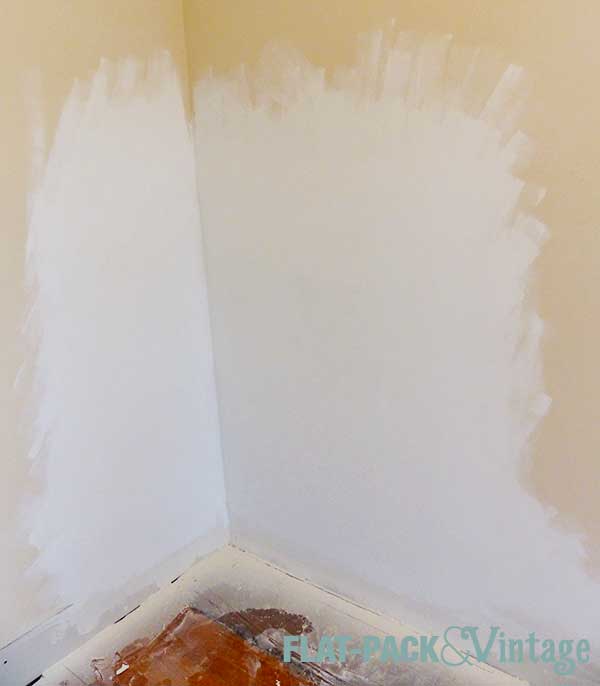
I was crazy happy with how good the spot looked after priming.  1) It looked way more even than expected and 2) the texture left the primer and roller seemed to be just enough to match the subtle wall texture that was already there.  I was a little worried about that and had started to look into some of aerosol texture sprays, but think we may be ok!

I also (mostly) finished painting the trim.  I started last week on our day of rest after Vegas and got one coat of paint on about 1/2 the room.  This weekend I got almost everything else done (I couldn’t reach everything since our table is shoved against one wall, so I’ll be working in sections). Trim is the most tedious thing to paint I think.  Walls are a piece of cake, but trim… it’s more of a souffle–time consuming and finicky.

DR_20_2

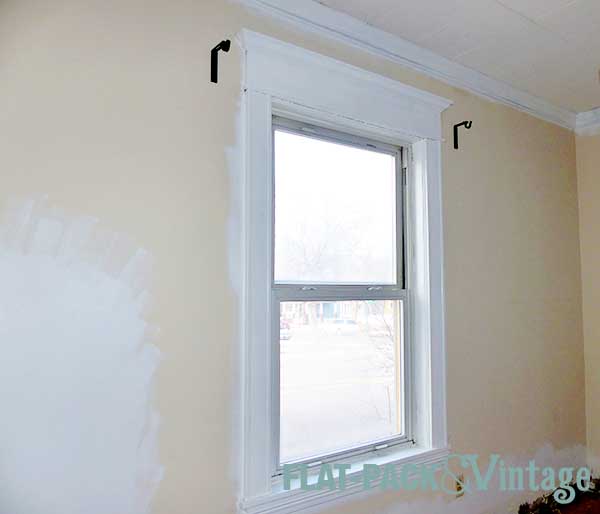
Because I’m impatient, I also put a little patch of paint up to see how it looked against the trim.

DR_20_3

SO excited to get this room painted!

I switched my day off for this coming week from Monday to Wednesday to help out a co-worker and it ended up working well for me too.  I get a break from manual labor and can hopefully dive into painting on Wednesday.  Karma.


*Lighting and shadows can be tricksy

Day 1: Dining Room Demo

After deciding on the Dining Room as our next project we detoured a little bit in January to follow along with Apartment Therapy’s January Cure.  I think this was a good call to allow us to refocus a little bit on the house as a whole and tackle a couple of smaller projects.

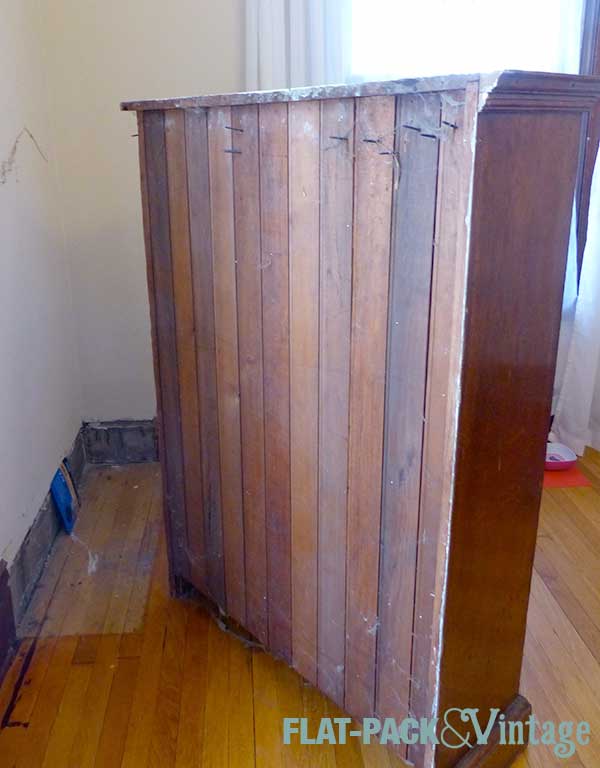
So, the dining room…. it will be a project, but we have a plan! We started by removing the bookcases.

The first one came out really easily.  Despite all the screws it wasn’t actually attached anywhere so we just had to pull it out and haul it into our garage (without getting impaled by any of the screws).

DR_demo_1

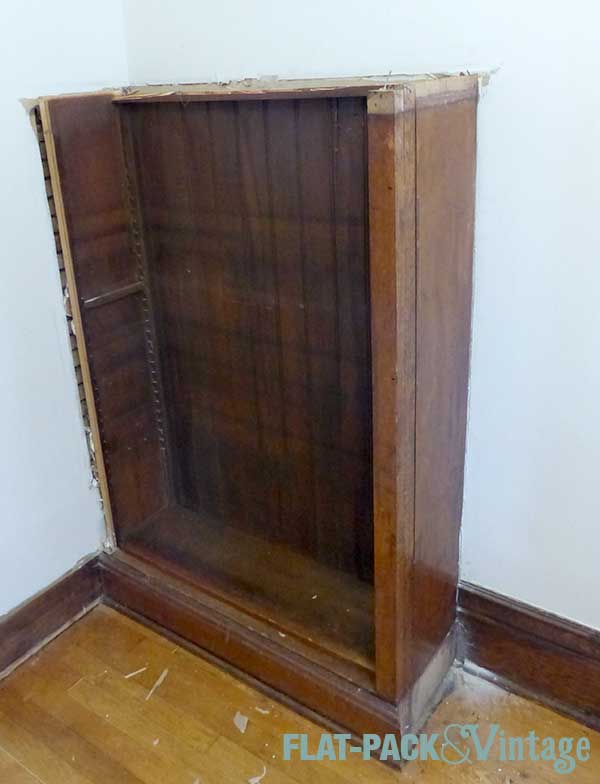
The second bookcase was an entirely different story. This guy was actually fully built in.  We unscrewed any screws we could find (2) but there were still nails holding it in place.  The nails were sunk deep enough that we couldn’t pry them out so the bookcase wasn’t budging.  Demo time.

DR_demo_2

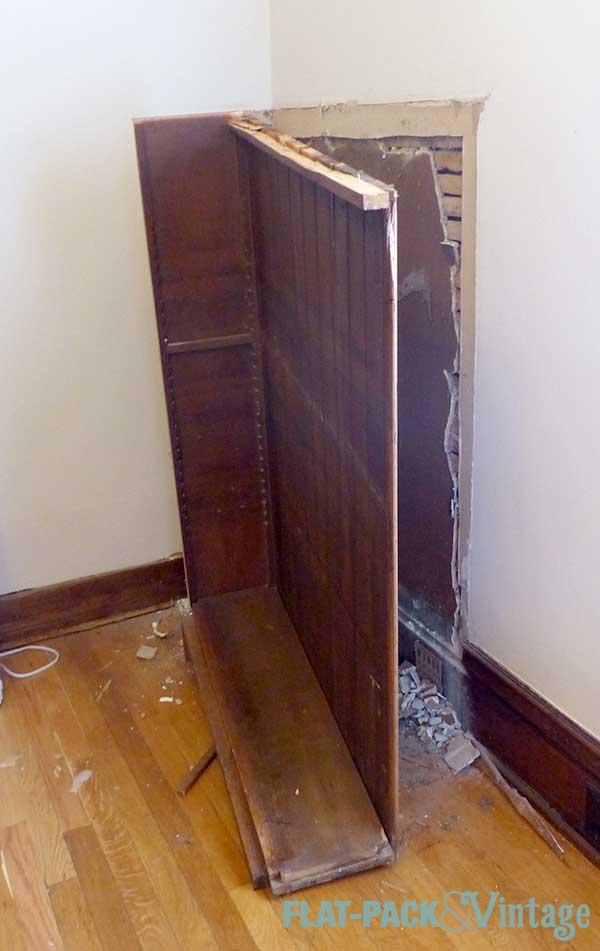
After some quality time with a crowbar, a hammer, and some brute strength the bookcase was in shambles.

DR_demo_3

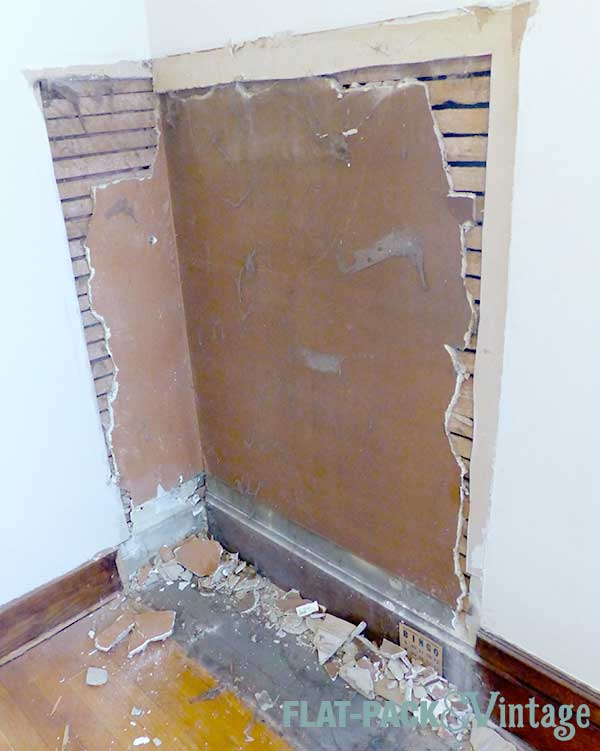
And eventually we were left with this (and a bunch of suspiciously pointy scraps of wood so we are totally prepared for a vampire invasion!)**

DR_demo_4

Awesome, right?

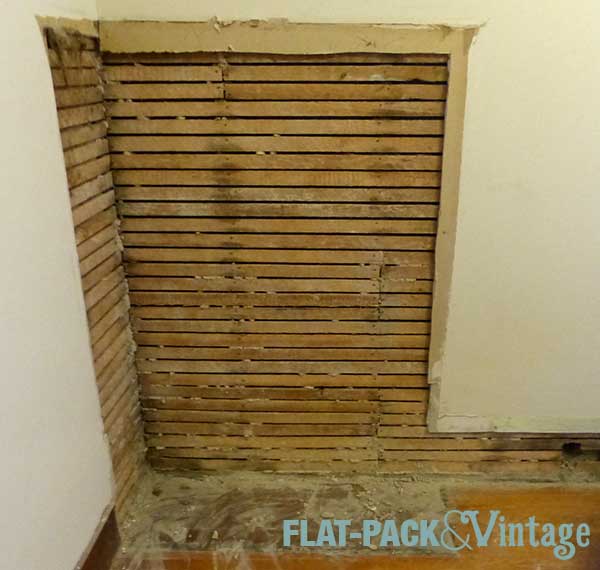
We already knew there was some wall damage behind this one.  One of the side trim pieces popped off a while back so we could see some exposed lath board so this wasn’t a total shock.  I had kept my fingers crossed that the wall behind the bookcase would still be ok… nope.

The weird thing going on here is that the main walls were drywalled at some point so what you’re seeing here is a combo of drywall and plaster.

I demoed out the remains of the plaster (which is remarkable satisfying by the way) and Matt tackled the baseboard. The baseboard did not want to budge, but we need to replace all of it (patching would have been nearly impossible).  I had to go make a hardware store run in the middle of it to get a large crowbar so we could get some more leverage now.*

DR_demo_5

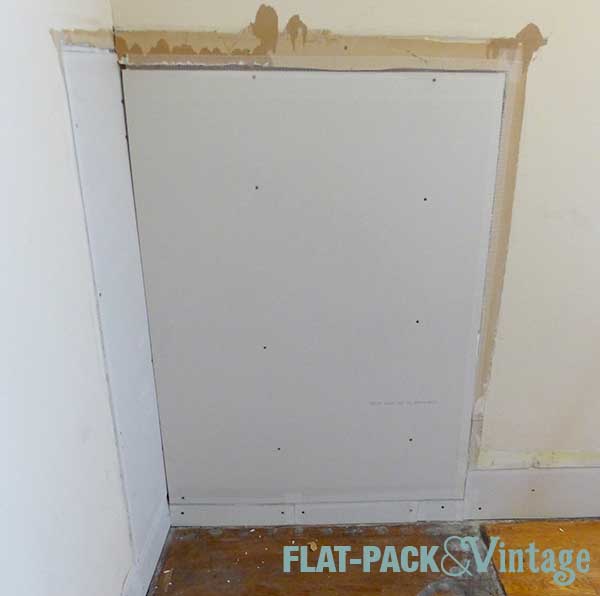
Now that the demo was done we had to start putting it back together.  We had picked up some drywall*** and started cutting it down to size.  Somehow whoever drywalled the first time managed to make wobbly cuts all around this opening.  How is that even possible? You get a straight edge, a utility knife, score, snap, and voila! Straight line.  How do you mess that up?

DR_demo_6

Our patching got a little wonky along the bottom because of the way we had to cut down the drywall to get it home in the first place, but that will all get covered up by new baseboards anyway so I’m not going to stress about super smooth finishes down there. Evening out the rest of the wall will probably take us a while though…


*The cashier asked me how my day was going and looked mildly frightened when I responded with “Well, hopefully better now!” while wielding a 3′ crowbar

**Don’t talk to me about sparkles.  I really want the t-shirt I saw that said “Then Buffy staked Edward.  The end.”  Also, this is totally worth watching.

***FYI a 1/2 sheet of drywall barely fits inside a compact car and people will probably laugh at you while you try and wedge it inside (especially if you’re already mildly panicking because it started to rain) and you may slightly damage the rubber seal around the door frames.  Thanks for volunteering my car Matt!

Hole Patching 101, 202, and WTF Did You do to Your Wall???

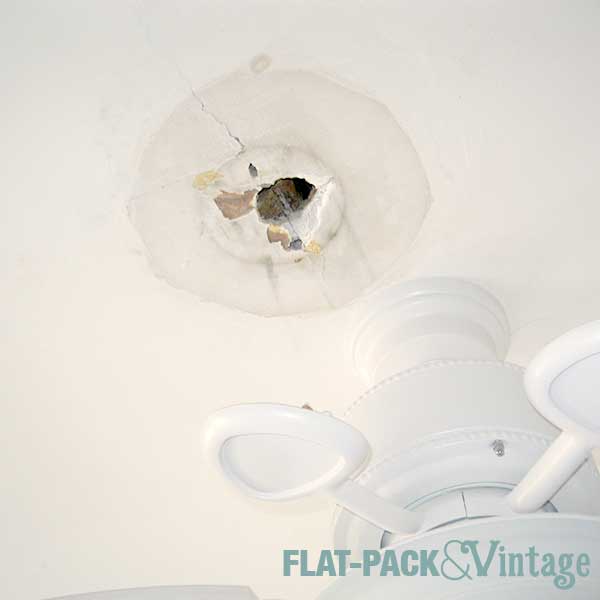
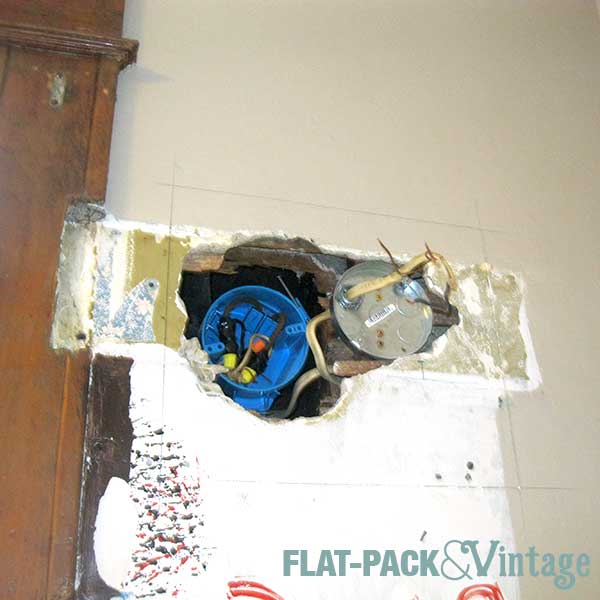
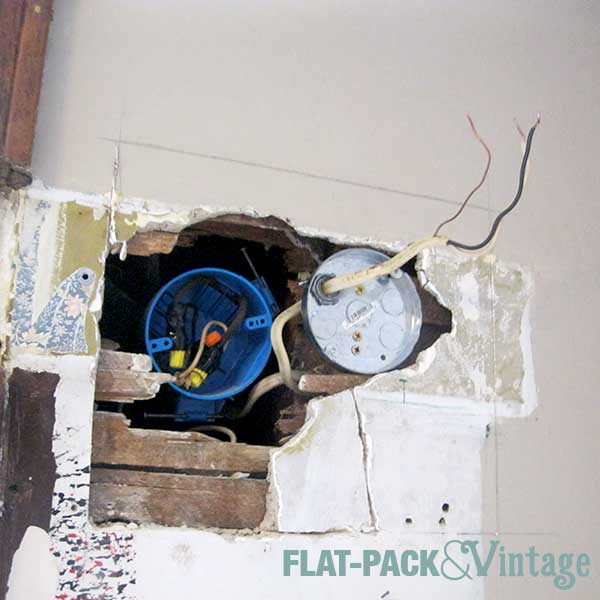
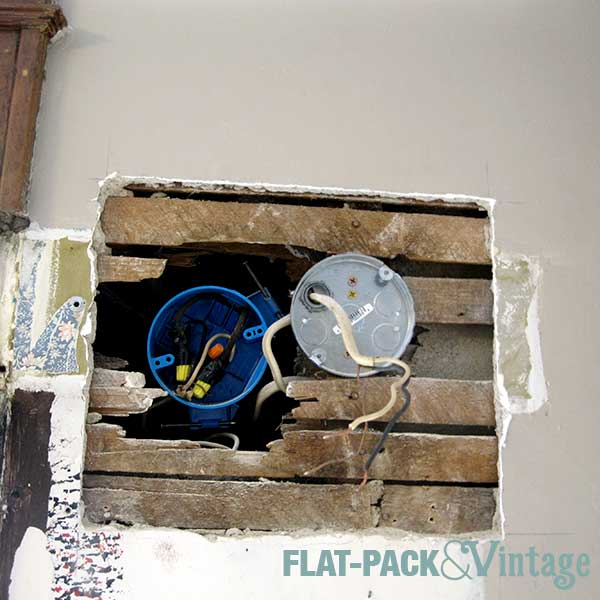
In our quest to replace all the light fixtures in our house we’ve run into some interesting… situations.  In the bathroom we discovered an existing hole in the wall once we removed the medicine cabinet and old light fixture.  In our bedroom we, once again, had no electrical box, couldn’t mount one where the existing hole in the ceiling was, so had to put a new hole in our ceiling for the electrical.  When we moved in there was also some existing awfulness by the window on our stair landing, so this weekend we had 3 different repair/patch situations to deal with.

The Basic

basicHole1

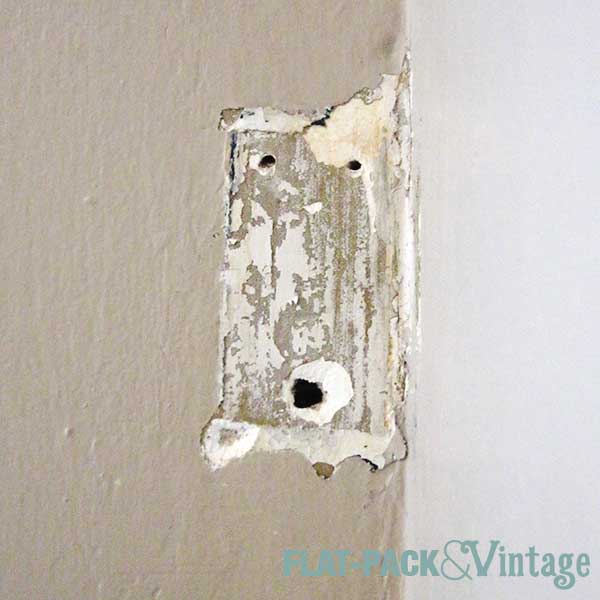
Removing the old make-up mirror in the bathroom left more than a couple screw holes.  It looks like they painted around it multiple times so there was actually a depth change in the wall too.

What you need

  • Spackle
  • Flexible putty knife
  • Sandpaper

Start by cleaning up the existing surface.  In the case of flaking paint, try and take off all the loose stuff you can.  For holes just make sure there’s no unevenness (especially with plaster walls since they can sometimes bubble when you try and screw into them).

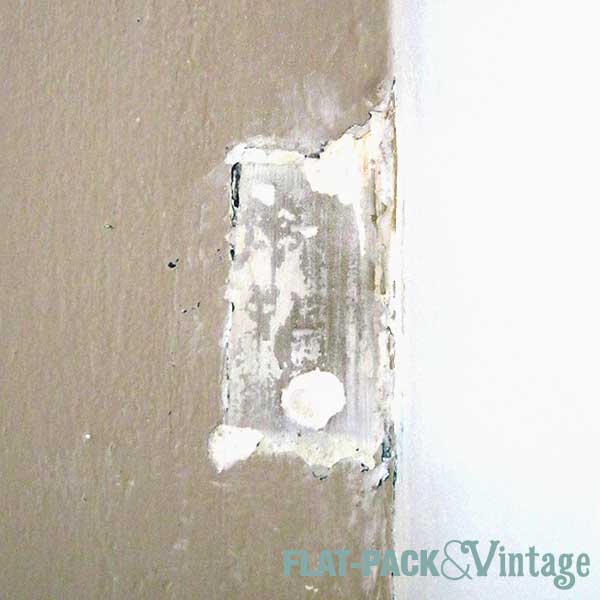
Next, cover the hole, dent, divet, whatever with a thin layer of spackle.  Use the putty knife to smoosh in the spackle then drag the blade of the knife even against the wall to scrape off excess.  Like spray paint, the trick is working in thin layers.

basicHole2

Once the first layer has dried, use your putty knife to lightly scrape off any ridges and sand down any noticeably high points. Then add another thin layer and repeat.  You’ll probably use around 3 layers, so don’t try and gob a ton of spackle on all once.

basicHole3

Once you think you’re done, run your hand over the area to make sure.  You may feel lumps and bumps you didn’t see  and they’ll stand out more once you paint. Sand/spackle as needed until everything feels nice and smooth. Then you just need to prime and paint and voila!

The Intermediate

intHole1

If you have a larger hole, spackle alone isn’t going to cut it. Maybe a doorknob tried to show your wall who was boss. Maybe your teenagers had an unauthorized rowdy party.  Maybe the idiots who wired your house didn’t believe in electrical boxes and you need to patch the old hole where the wiring came in.

What you need

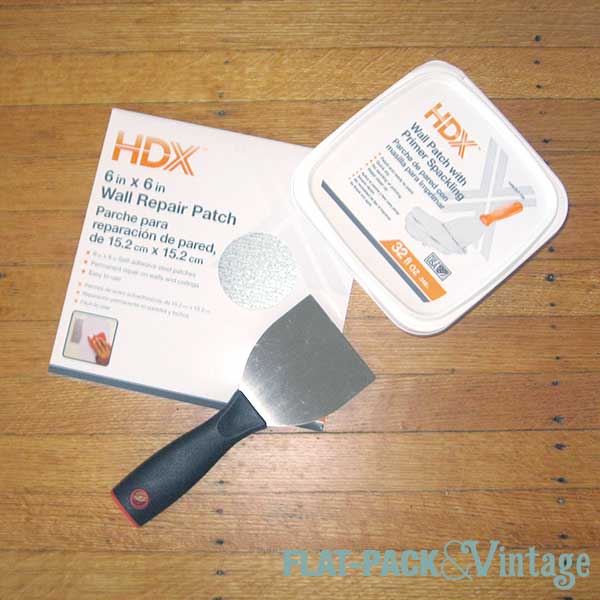
  • Wall patch
  • Spackle or joint compound
  • Flexible putty knife
  • Sandpaper

holeTools

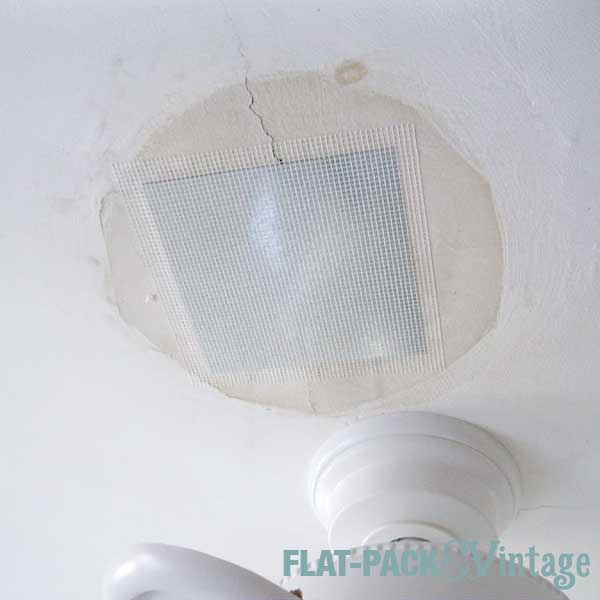
The steps are pretty similar to patching small holes, but you need to cover up the hole first because there is no way you’re going to fill it solid with spackle.  You can find  wall patches at your hardware store in a variety of sizes.  They’re pretty much an adhesive mesh over an aluminum panel so they’ll stick over the hole and then you spackle over them.

intHole2

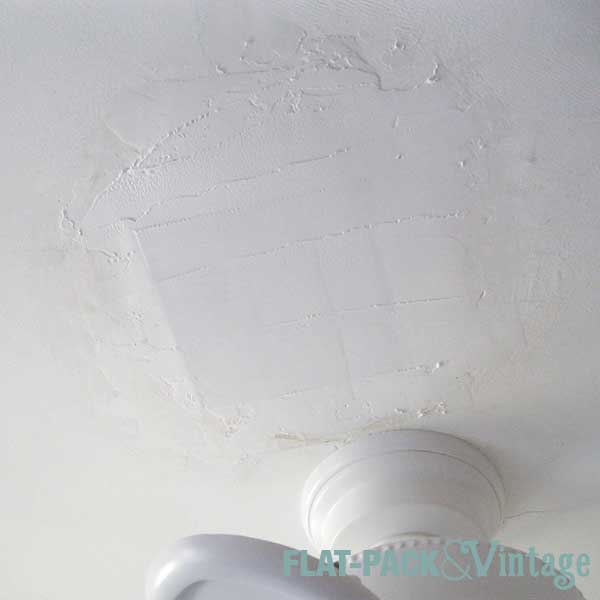
The trick here is to gradually feather out from the patch since it’s going to be slightly higher than the surrounding wall.  Again, build up thin layers until everything’s hidden and smooth.

intHole4

intHole5

Once the ceiling gets repainted it will disappear completely, but even now you can’t notice it unless someone points it out to you.

The Maybe-I-Should-Just-Call-a-Pro

bathWall1

Dude, you got this. It looks scary, but it’s not that bad.  Even if you have plaster walls.

What you need

  • Drywall (Home Depot sells 2’x2′ squares, Menards sells random sizes for patching… other places probably do too)
  • Drywall Screws
  • Utility knife
  • Stiff putty knife/5-in-1 tool or drywall saw (depending on your wall type)
  • Paint stir stick/thin scrap wood (optional)
  • Wood glue (optional)
  • Joint compound*
  • Flexible putty knife
  • Sandpaper

When you have a hole this big they don’t make adhesive patches big enough so you’ll need to fill it with drywall.

Safety note: make sure you know if there are any electrical wires behind the area you’re patching since you do not want to accidentally cut or drill through them.

bathWall2

Start by evening out the edges of the hole so it’s rectangular.  If you have drywall you can cut out the rough edges with a drywall saw easily.  If you have plaster walls… it takes some more effort.  This video can probably explain it better than I can. It’s a little putzy and time consuming (and dusty!) but not incredibly difficult.

bathWall3

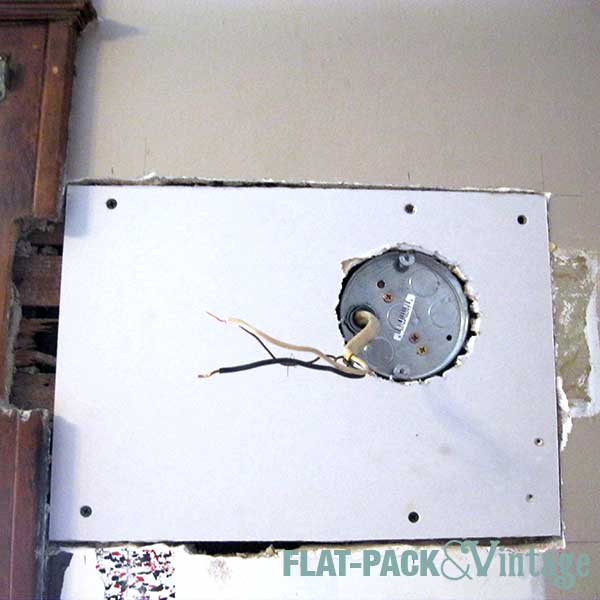
Cut (really score with a utility knife and snap) your drywall patch to fit your new, squared hole and screw it into place.  If you’re missing lath  or not near a stud you may have to create a surface to screw into with some scrap wood. Again, there’s already a video that should help explain that better than me.  He’s patching a pretty small hole, but the concept’s the same.

bathWall4

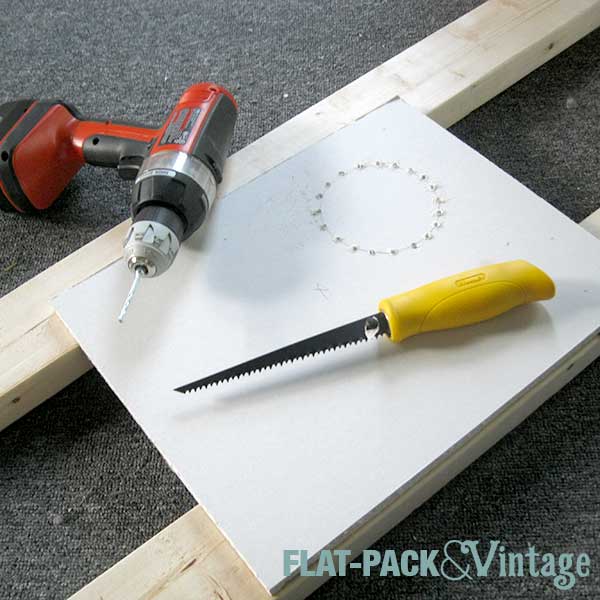
We had to cut a hole for the wiring too.  I traced the electrical box in the right spot, drilled holes along the perimeter, then used a drywall saw to cut it all the way out. The drilled holes just make it easier to cut a rounded shaped, if you’re cutting out a square you probably just need the saw.

bathwall5

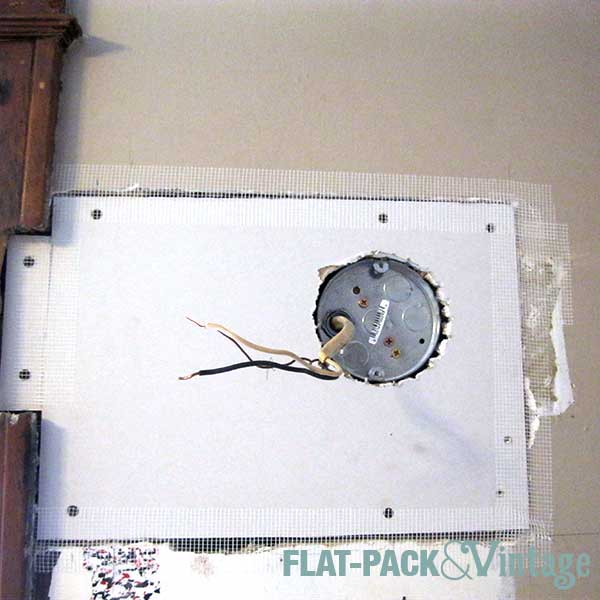
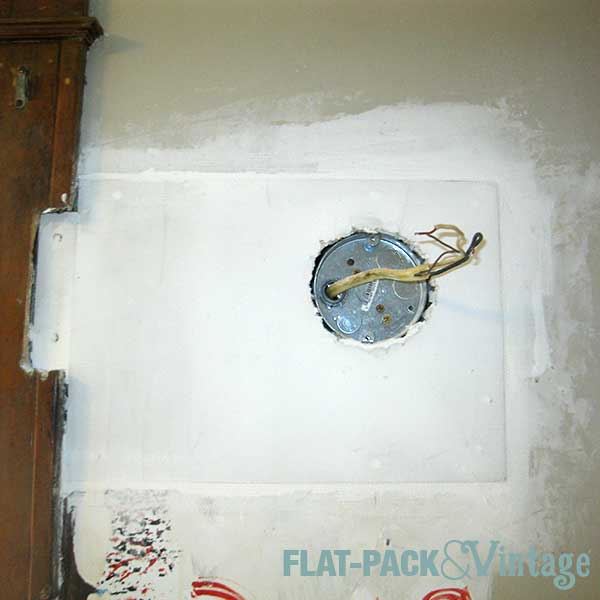
Tape the edges with an adhesive mesh tape and feather out those edges just like you did for a smaller patch. We ended up taking off more plaster so we could expose some more stable laths to mount the drywall on.

bathWall6

bathWall7

Still working on this one since it will take some effort to completely hide a hole that big, but by the time we paint you’ll never even know it was there.


*Ok, so I used the same wall patch spackle I used on the bedroom ceiling… time will tell if I royally flubbed it.