And a CEILING!
It’s kind of amazing actually.
A few weeks back my dad and brother-in-law joined up for an Epic DIY weekend. My dad and I kicked it off with some custom door and window casings. Matt’s brother, Isaac, got in later, so he and Matt were going to tackle the ceiling on Saturday.
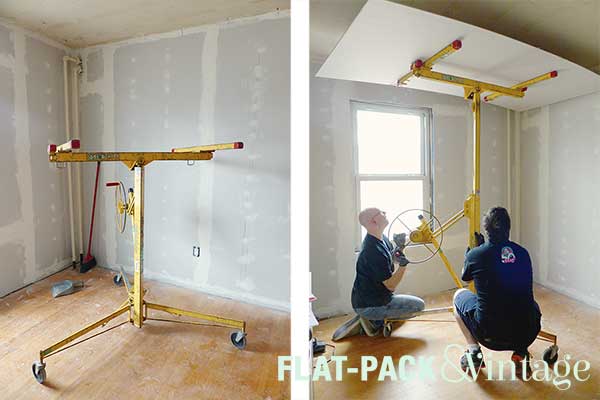
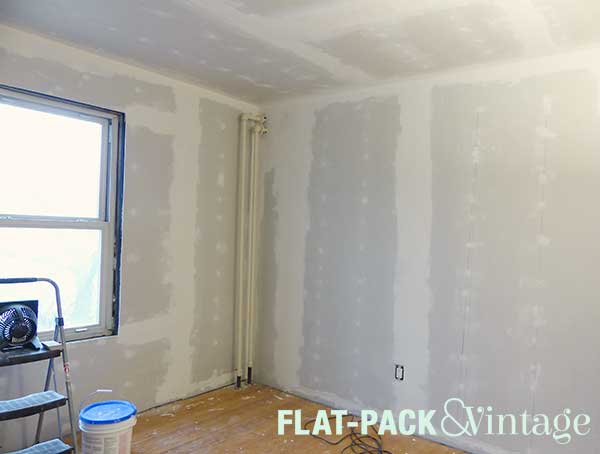
Matt and I had already gotten drywall up on the walls, and all the seams taped and mudded. The ceiling was going to be a far more intensive job though and a little college boy labor goes a long way. The first step was to rent a drywall lift. My dad was telling me that he and my mom drywalled a ceiling without a lift back in the 70’s…oof! It cost us $15 to rent a lift for the most of the day (from Menards). Totally worth it.
I may have mentioned before that my dad and I make up team Crazed Perfectionist. We watched Matt and Isaac for a little bit to see if they would need extra hands. They didn’t really, but we started getting a little twitchy about the lack of crazed perfectionism, so I suggested (firmly) for a division of labor. Team Crazed Perfectionist would handle the measuring and cutting, and team Grunt Labor would handle the lifting and installing. This actually worked out pretty well, especially since doing anything on the ceiling gets tiring pretty quickly so this gave team Grunt Labor a bunch of mini rest breaks.
We’re still pretty new to drywall so I’m not going to do a tutorial (I’m sure they are far more knowledgeable people out there who have already written them). I do have a few useful takeaways we learned though.
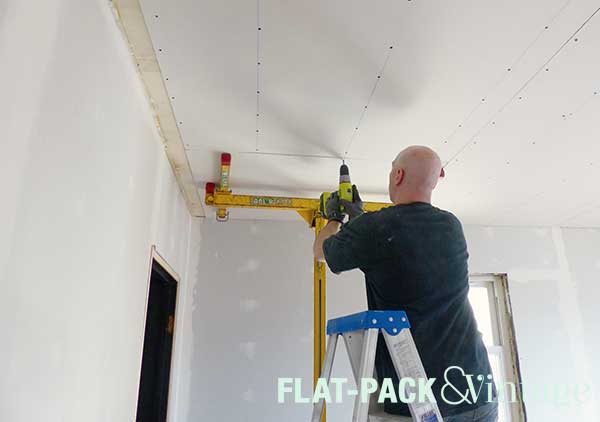
- Suck it up and rent a drywall lift! We didn’t bother with it for the walls because we installed the sheets vertically, but it was MUST for the ceiling. If you’re installing sheets on the wall horizontally, you’ll probably want it too.
- Align the factory edges of your drywall as much as possible. The edges of a sheet of drywall have a very slight indent in them to help compensate for the thickness of the tape and mud.
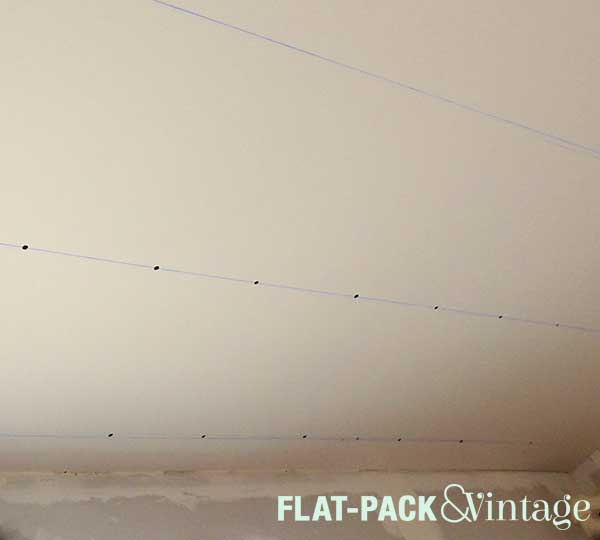
- Mark the ends of your joists on the walls, then use a chalk line to connect the marks to show you where to put your screws. It’s MUCH harder to eyeball a straight line when you’re balanced and bent on top of a ladder.
- THIN coats when mudding. Seriously. Yes, if it goes on too thick you can sand it down, but drywall dust is horrendous. Thin coats should mean less sanding AND less dry time between layers so you can get more done in a day.
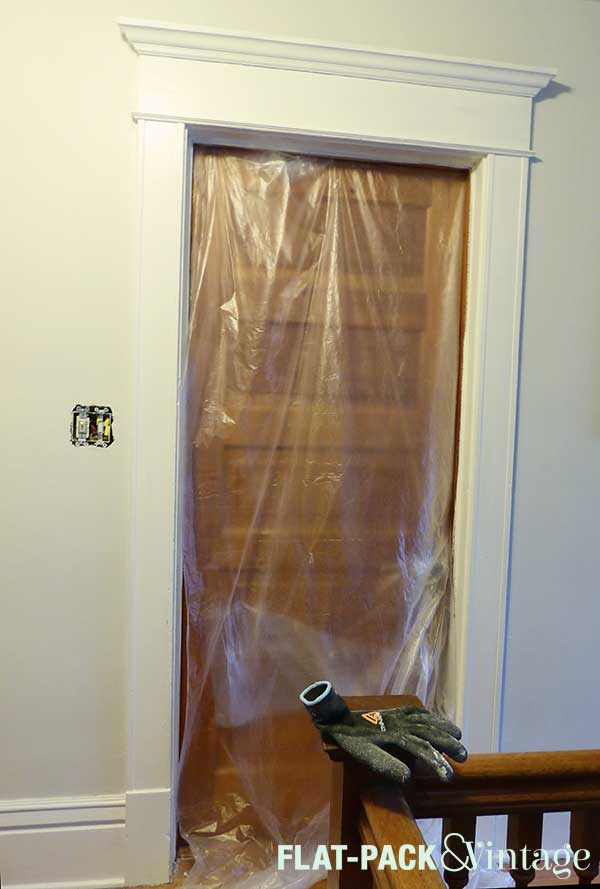
- Once you’re at the sanding stage, try and tarp off the room as best as you can. We hung plastic sheeting over the door and kept the door closed at all times.
- We didn’t try this, but had multiple people suggest a drywall sanding sponge. Wet sanding should help control the dust and joint compound is water soluble so it’s supposed to be faster.
- We tried a sanding attachment for our shop-vac. Awesome in concept, but according to Matt it was a little unwieldy. The head would spin unpredictably making things a little difficult. He did notice an improvement in the dust control though, so it probably depends on the person if they like it or not.
- Get a bag filter for your shop-vac! You for sure want one rated for drywall dust because you will be vacuuming up a LOT.
- Wear a mask and full goggles when sanding. I really can’t over-state how awful drywall dust is.
- Make sure you keep a good moisturizer handy. Drywall is incredibly drying on the skin.
You can see we ended up with a tiny little strip of drywall, which is usually frowned upon. Based on where our joists were positioned, this made the most sense for us. We were able to screw the edges of the second-to-last board directly into the joists and the last little strip was light enough adhere with construction adhesive (because we were drywalling over existing plaster instead of bare studs). We screwed it in too, but there wasn’t a joist there which we would have needed to secure a larger piece.
After making it though the weekend without killing anyone, Matt kept working away on the mudding/sanding the seams. It’s a process and, quite frankly, it sucks. Actually, the mudding’s not so bad, but the sanding is possibly the worst home improvement task ever. I was really happy to have solid excuse not to help. Once Matt got things sanded, he would call me in to give the Crazed Perfectionist opinion and then I’d go around with a pencil and circle all the areas that needed more work.
Two weeks later we were ready to prime! I’m specifically holding off on installing trim until the room is fully painted. Painting goes SO much faster when you don’t have to worry about cutting in! We knocked out all the walls in about an hour one evening after work. Unfortunately, it was starting to get a little dark at that point and the “fancy” bare drywall primer is nearly impossible to see until it dries so our first coat turned out super crappy. Oops. It also highlighted some spots that still needed a little extra smoothing (though not as many as I expected!).
The next evening we tackled the touch-up spots and the ceiling. We’ll take another look at everything in full daylight, but it seems to be going well. I’m planning another coat of regular primer just so we don’t get any surprises when we paint. And when will we get to the actual paint? Well, my ceiling fan is now back-ordered until the end of April and I need the fan to decide on the ceiling color and I need the ceiling color to decide on the wall color. Matt just sort of shakes his head and asks why we can’t just get a white fan. I tell him he because he married a crazy person which he really should have been aware years ago.
Until my beloved fan comes in I’ll be sanding (with a mask!), priming, and painting all the trim pieces.