Last week I shared the video that really kick-started my de-cluttering spree. As I went further down the YouTube rabbit hole I learned more and more about different ways to de-clutter and organize. Wait, different strategies work better for different people? Crazy!
After finding But First Coffee and The Minimal Mom, I came across Clutterbug. One thing she does that is amazingly helpful it to help people figure out their organizing style. There’s even a quiz you can take–just answer it based on what you do not what you wish you would do.
I found out I’m a Butterfly–visual, macro organizer. Now while I don’t 100% agree with clear bins for me, open bins really hit home. Anytime I have closed bins I’ll just pile stuff around them to put away “some time.” Yes, I apparently don’t have the motivation to open a lid when cleaning but you know what? That’s ok! But I always bought closed bins because I though that was the “right” way to do it.
And of course, you’re not necessarily going to fall entirely into one of her four categories. Visual, macro organization will probably work well for me most of the time, but like I said, I’m not a fan of clear bins, and certain categories of things I will definitely micro-organize. It’s about defining how you function so you can create an organizational system that will work for you!
Ok, so now you have an idea of how you should organize your stuff… but there’s still a lot to organize. At some point you’re just going to need to get rid of stuff,* but how much?
Dana K. White teams up a lot with The Minimal Mom and Clutterbug so she popped up in my feed too. Something she discusses is how to find your Clutter Threshold. The idea is that different people can handle amounts of stuff without it being overwhelming. You don’t need to be a minimalist, but you do need to figure out what you can manage without feeling overwhelmed.
Or as the Minimal Mom describes it: you need to be able to manage your inventory.
Clutterbug also has different strategies for de-cluttering because, just like organizing, there’s no one way to do it.
*Unless you’re already really on top of things…in which case this post is probably pretty useless, but GO YOU!
I used to watch Hoarders whenever I needed a little motivation for cleaning/de-cluttering, but this time around I switched to the opposite end of the spectrum.
First I discovered Kallie of But First Coffee. She’s not extreme at all, in fact she is incredibly relatable. Her channel and blog is primarily lifestyle and parenting advice (but don’t worry non-parents, plenty of her stuff isn’t parenting specific). I love that she seems very authentic (ie not perfect).
Well, YouTube’s algorithms decided that this just wasn’t enough for me. Maybe they’ve seen the state of my house, who knows, but videos for The Minimal Mom started popping up for me. Dawn of The Minimal Mom is probably more extreme than I ever see myself going…buuuuut the way she she talks about de-cluttering and organizing still really resonates with me, even if I opt not take it as far as she does.
For example, this video kicked my butt into gear a few weekends ago:
I’ve read Marie Kondo’s book and found it semi-motivating, but Dawn’s method really clicked for me. I think both Marie and Dawn are ultimately getting after the same idea, but for me Dawn’s method of picking out your favorite items vs asking every item if it “sparked joy” made a lot more sense to me. I didn’t go quite as far as she did and set specific numbers for clothing items (I’m all about winging it) but I still cleared out a huge box of stuff from my closet! If you’re interested in capsule wardobes picking out your favorite pieces is also a great way to start figuring out a color scheme to work with too.
I’ve now been binge-watching organization and minimalism videos and have been going on a de-cluttering rampage. Luckily for Matt most of the excess stuff in the house is either mine or the kids so he is relatively unaffected. We’ll see what happens if I make it to the kitchen though…
So who’s with me for some spring* cleaning motivation? I’m going to try and share some of my favorite videos to kick off the weekends for hopefully all of May. We’ll see, I get easily distracted… I’ve got some house updates coming too, I just need to get photos. You’d think that would be easier with me working from home a lot of the time but no, no it’s not.
*I live in Minnesota–we’re lucky it’s not currently snowing
When I started my closet makeover, I thought it was going to a weekend…maybe a week (factoring in a full-time job and toddler). Well, two and half weeks later, I’m finally able to put my clothes away (although there’s still a little bit of work I’d like to do)
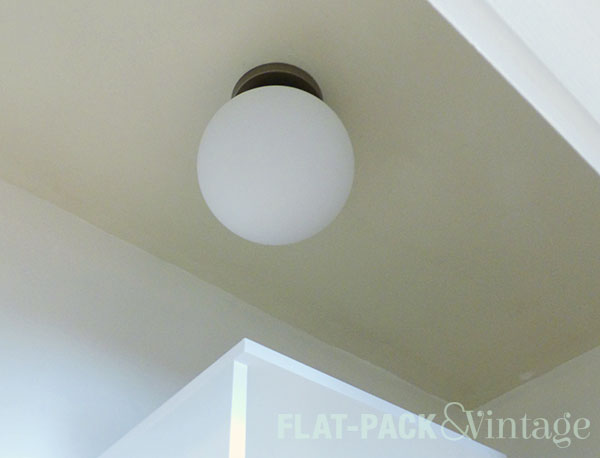
When we last left my closet, I had destroyed everything and finished repairing the walls. After that, I got everything painted and mostly-assembled the shelving unit of the organizer I bought (I’d need it for spacing and such). Then Matt installed a new ceiling light.
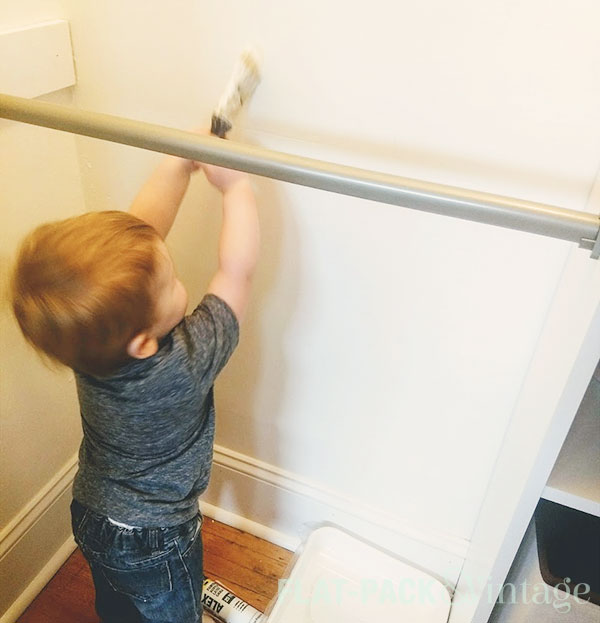
And I got some help with touch-up paint.
Next up was re-doing the baseboards. I had originally planned on just getting 1×8 pine boards…unfortunately the pre-primed 1×8’s at Menards looked suspiciously moldy. Ew. Pre-primed baseboard was only slightly more expensive so I decided to go that route rather than spend the time is priming.
You know Newton’s Third Law: for every action, there is an equal and opposite reaction? Well, it’s not just for physics anymore… While I saved time by not priming the baseboards, I lost time having to miter all the corners (yes, I had originally planned to take the lazy way out and use butt joints).
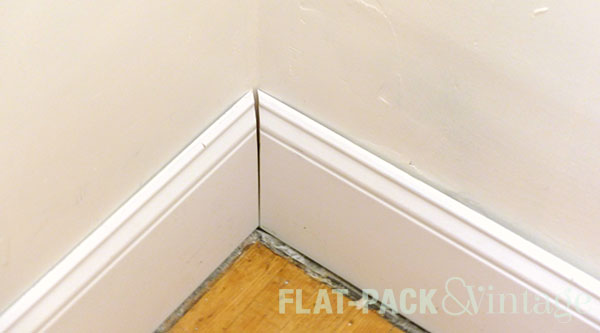
I also had to deal with the joy of old houses:
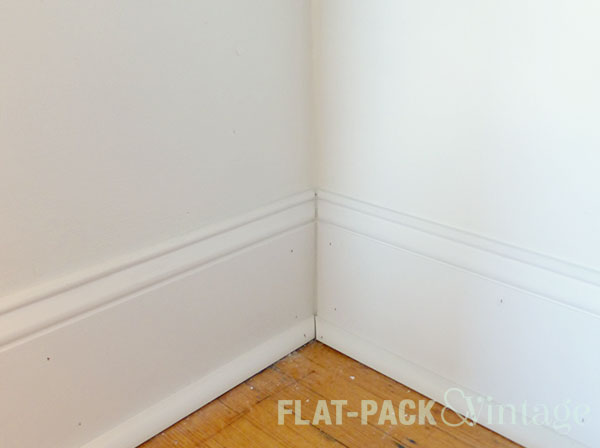
No matter how careful you may be with your cuts, if your walls aren’t square you’ll still end up with a mess (it’s harder to see, but the boards don’t sit completely flush against the wall either). If this was somewhere more visible than inside a closet, the options would be recalculating the angle, or using a coping saw. However, since this was inside a closet, I chose the super-unprofessional method of just filling the gap with caulk.
I also further half-assed things by using quarter round instead of shoe molding…but we had a bunch of (already painted!) quarter round from when I accidentally bought for our dining room so I figured the closet was decent place to use some of it up.*
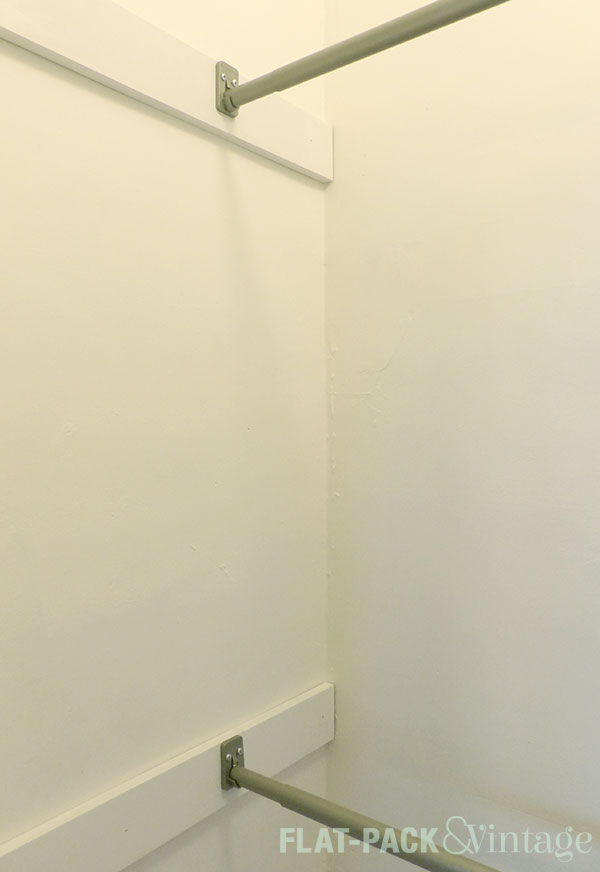
Along with re-installing baseboards, I also put up 1×4’s to support the curtain rod brackets. The previous closet system had the brackets attached to boards as well and I decided that was probably a good idea. In newer construction this probably unnecessary, but plaster doesn’t play especially nicely with anchors so I want to make sure I had the stability of studs to support the weight of my clothing.
Securing the shelving unit was one of the last things I did. I saved this for the end because I wanted to be able to move it out of the way while I crammed myself into an already tight corner to nail and caulk baseboards (sometime I make good decisions). Because the shelves were reasonably stable on their own and there wasn’t going to be anything pulling away from the wall, I was fine securing it with the anchors that came with the kit.
Once the tower was completely stable, I added the support brackets for the clothing rods. On the left side I used the rods and brackets that came with the kit. With careful measuring and a level…I still managed to eff up the first one. Matt, being the awesomely supportive husband that he is, walked in after I finished up, grabbed a level, and immediately pointed out that it wasn’t straight. Thanks dear…
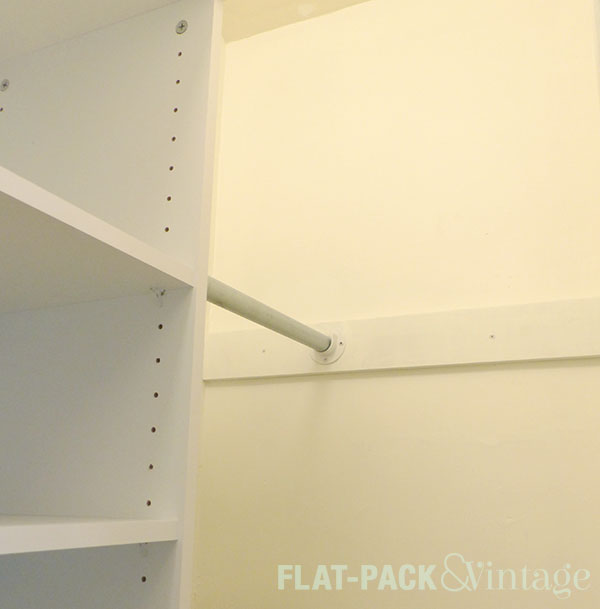
The area to the right of the shelves was too small to use the rod that came with the kit. I could have cut it down with a hacksaw, but the rod is two pieces, each of which have a notch at one end to lock into the bracket…basically it would have been very annoying to cut everything. Instead I cut my old closet rod down to size** with a pipe cutter and re-used the old brackets.
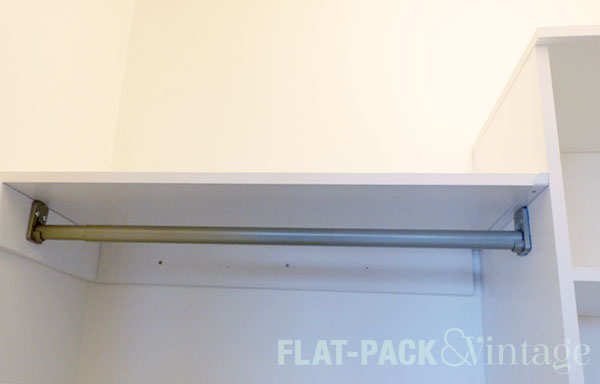
Once the main components were in place, I decided to add even more shelving over the rods. I bought the upper shelf support brackets designed to work with this system, a couple laminate shelves, and another 1×4. I only needed one package of the brackets since 1×4 the rods connected to on the walls would already be serving as some shelf support. I attached another 1×4 to the back wall to support the back of the shelf.
The laminate shelves only came in 48″ lengths so I had to cut them down to the right sizes (this left me a couple bonus shelves for the tower too!). Cutting laminate is a little intimidating since it’s prone to chipping so I did a a bit of a research first. The common method seems to be scoring the laminate with a utility knife first, then running it through a table saw with the blade height set to only cut through about half of the board, then flip the board over and cut the other side.
Well, I tried this and my board kept getting stuck so I decided to throw caution the wind and just run in through like a normal board…and this actually worked! If your board is going to be pretty visible I don’t know if I’d recommend this (I think I just got lucky), but if your cut edges aren’t really going to show, it might be worth the risk if you’re struggling with the “safe” way.
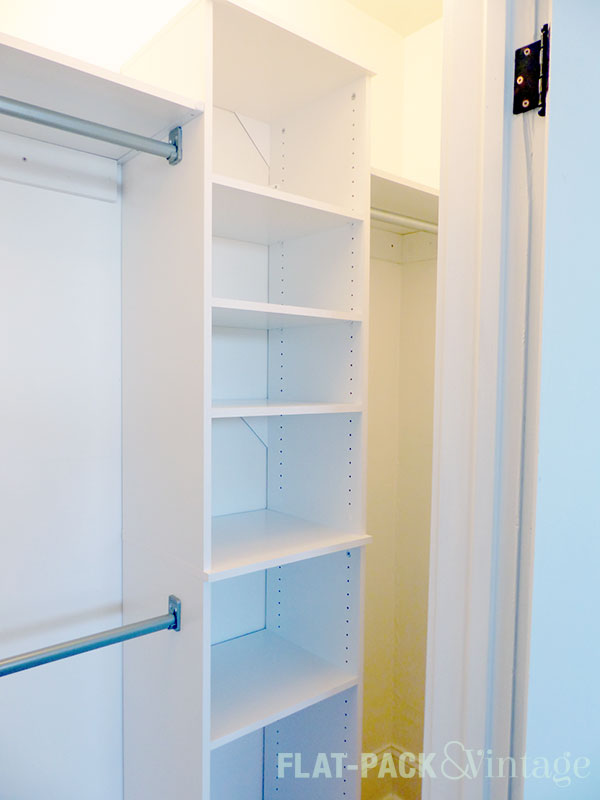
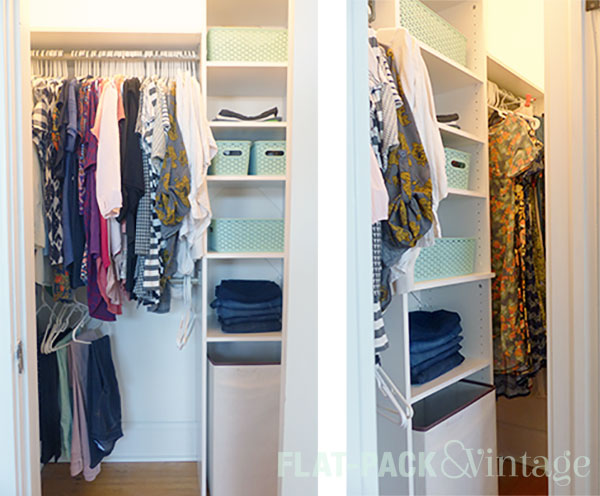
Now the light is up! The shelves are all up! The rods are up!
And I can put my clothes away at last!!!
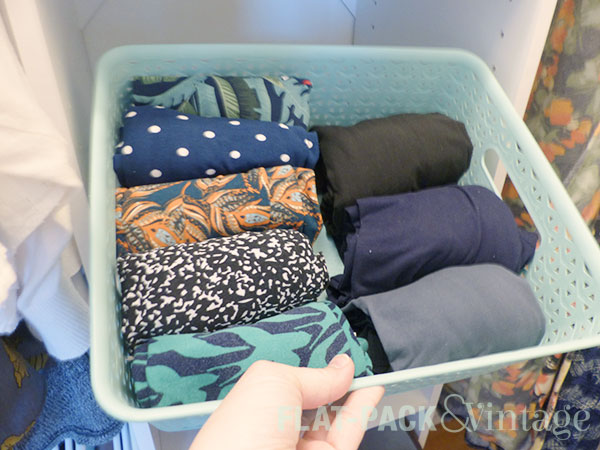
I have some t-shirts and jeans folded on shelves and a handful of inexpensive baskets from Target for things like swimwear, belts, tights, and leggings. (I KonMari’ed my leggings BTW and it feels sooo good!)So a weekend project ended up taking around 3 weeks to complete, but I am incredibly happy with the result.
*More so than I had planned because I could not for the life of me get one of the cuts right and effed it at least three times.
**Technically Matt started this part, only first he cut the rod to exactly length between the shelf and the wall and didn’t account for the width of the brackets. Then he tried to re-cut a slightly smaller piece, but the pipe rebelled and he gave up after getting some blisters. I jumped in at this point and finished cutting it in about a minute…because he loosened it for me, right? To his credit, he cut the first piece without issue so it wasn’t like he didn’t know how to use a pipe cutter.
 So a weekend project ended up taking around 3 weeks to complete, but I am incredibly happy with the result.