(or painting)
If you’re staining…
Supplies
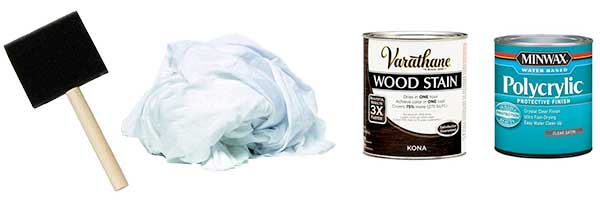
- Stain
- Foam brushes
- Rags
- Polyacrylic
- Gloves (optional, but stain is a pain to clean off of skin)
The hardest part of staining is getting the final color/finish that you want. I had to experiment a bunch with our doors so our first one took forever.
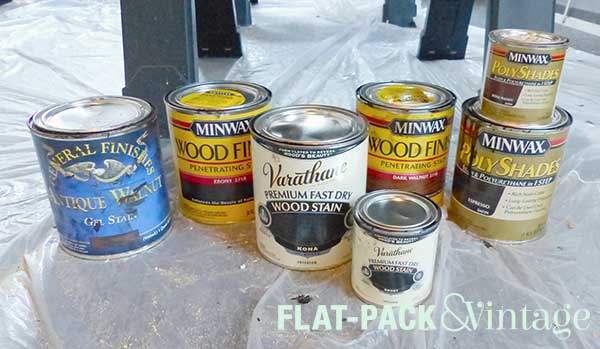
Round #1 was gel stain over the existing finish–fail. It didn’t cover well… it may have with enough coats, but it would have been really opaque.
Round #2: strip door, 2 coats of gel stain + polyshades–too opaque, splotchy, not lovin’ it.
Round #3: strip door, 2 coats of traditional stain + polyshades–still splotchy and uneven, whomp whomp.
Round #4: strip, traditional stain, “wash” of a darker shade of stain, and a regular polyacrylic–we have a winner!
I ended up going with a traditional stain because it will let the wood grain show through. It’s also super easy to use! Seriously, you can’t mess this up unless you walk away for the entire day.
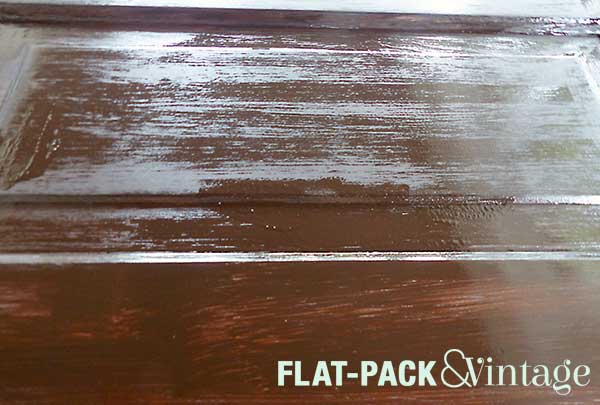
I applied the stain with a foam brush (mostly because I’m lazy and didn’t want to deal with clean-up of an oil-based product). Working with the grain, brush on the stain in a heavy-ish coat. You don’t want to glob it on, but you don’t need to be super careful about evenness either. The longer you wait, the more the stain will penetrate the darker the finish will be–I waited about 5-10 minutes or so after I had covered the whole door.
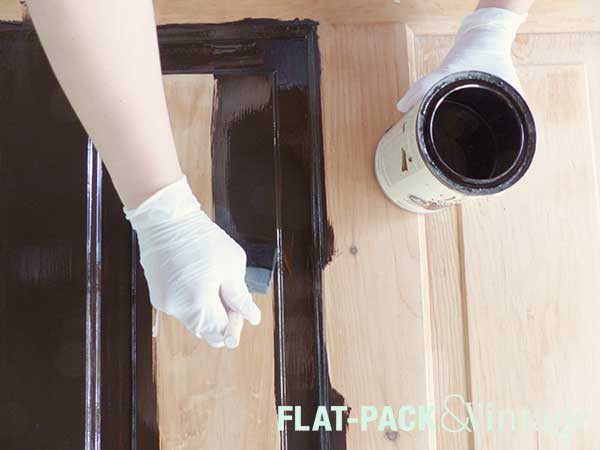
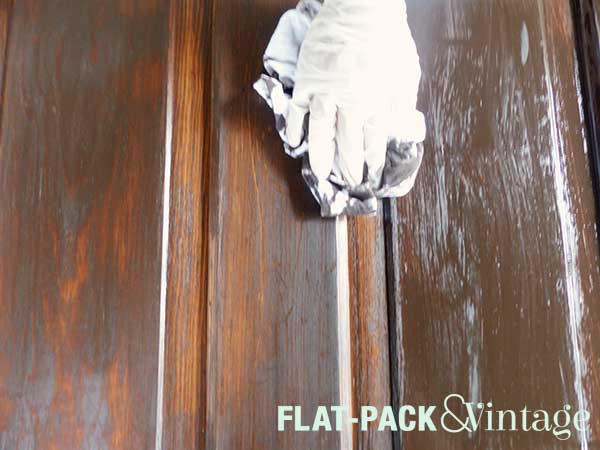
Then you’ll want to come in with a clean rag and wipe off all the excess. You want to take off everything that hasn’t soaked into the wood.
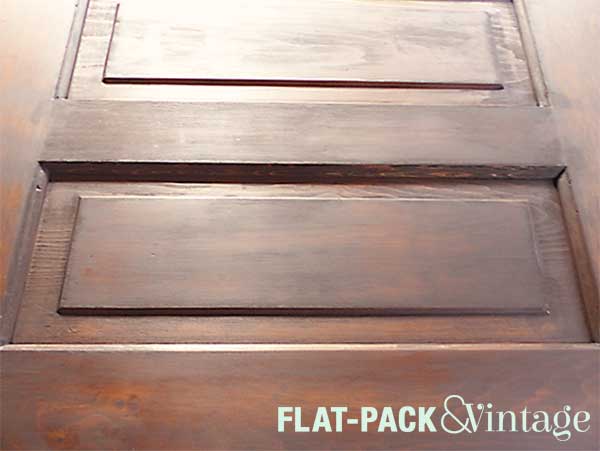
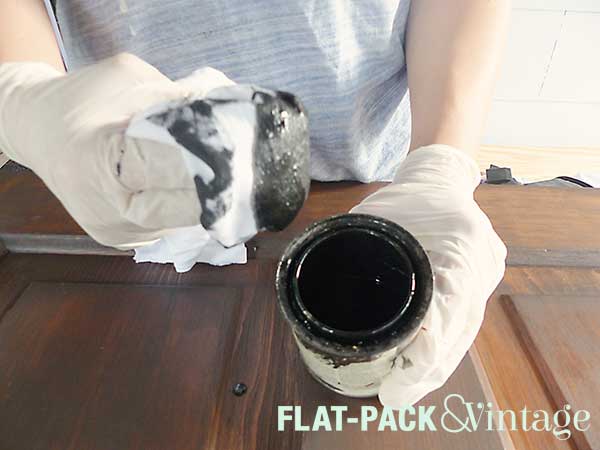
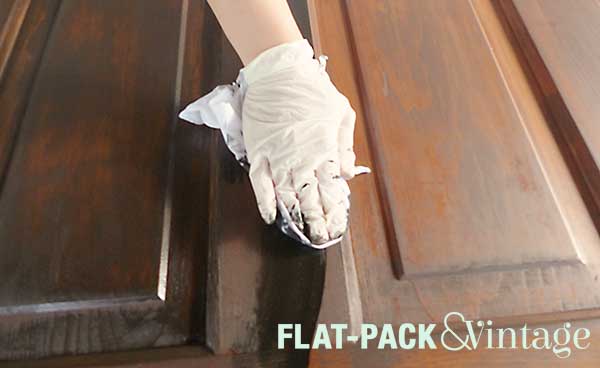
To get the color I wanted, I did another coat in a darker stain. This one I rubbed on a thin coat with a rag (as opposed to brushing on then wiping off) because I didn’t want it getting super dark.
I followed up the stain with 2 coats of polyacrylic (I chose a satin finish to match the sheen of our trim paint). Like the first coat of stain, I used a foam brush to apply it. Unlike the stain, you will want to work in thin coats and try and apply it as evenly as possibly. You may see some bubbles in the poly, do your best to smooth them out, but small amounts will smooth out on their own.
If you’re painting…
Supplies
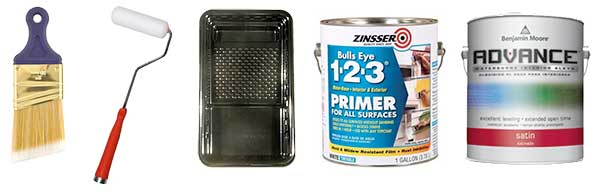
- Primer
- Paint
- Foam roller and roller tray
- Paint brush
- Rag (optional)
For the bedrooms and bathroom with opted to paint the inside white like the trim. I always stained first because the stain is more likely to drip to the other side the of the door. I also chose to stain the edges of the door, but that shouldn’t make a big difference either way. I used a small foam roller (and a brush to get into the trim details) to prime and paint. If you’re doing a two-toned piece go carefully along the edges without too much pressure and you should get a pretty smooth edge. If you get too much paint over the edge you wipe it off with a rag.
Our doors took 1 coat of primer and 2 coats of paint (Benjamin Moore Advance, like our trim). I didn’t bother doing a poly coat on the doors because the paint I use already has a really nice finish on it’s own.
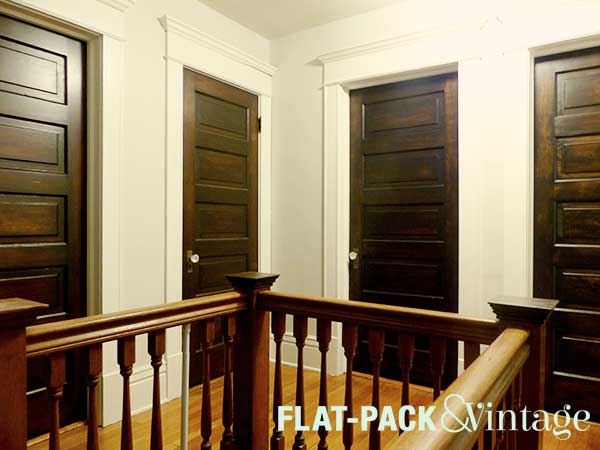
We now have all the upstairs doors refinished! I have no desire to change the downstairs doors so I completely done with doors! Wheee!
I would love to refinish the floors in the house to be similar in color (I love me a dark wood floor with white trim!*) but I honestly don’t know if we’ll ever get around to that. I do want to darken up the stair railings though since I think they look a little odd with the dark doors.
*Plus, based on the finish on our stairs I think the original floor color was quite dark.