I spent the last week working on smoothing out the patch job. It’s a fairly timing consuming project since you have to wait for the previous layer of joint compound to fully dry before you can add another… which pretty much means waiting a full day in between coats.
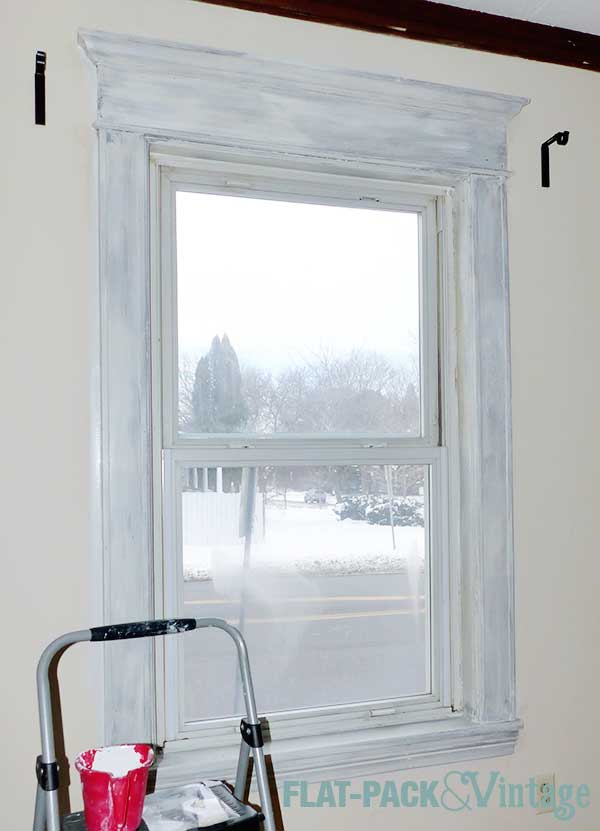
With the walls well underway I decided to start tackling the trim. The baseboards are going to come later, but I wanted to get the door and window trim and the crown molding painted before painting the walls. I think it’s easier to paint trim first (personal preference) and I could knock out the trim while still finishing up the patch job on the wall.
Priming isn’t that exciting, but solid prep-work is important. All the trim got wiped down with a liquid deglosser and then got hit with a coat of primer. What I’ve read about using deglossers is that they tend to lose their effectiveness if they sit too long, so I worked in small sections. Deglossed the kitchen doorframe, let it dry to the touch (about 10 minutes), primed. Then I moved on to one of the windows, degloss, dry, prime… next window, etc.
I’ve been using Bulls Eye 1 2 3 primer and have been pretty happy with it. If you can stomach it, an oil-based would be even better, but it’s cold here and the windows are staying closed. No matter which primer you choose just make sure to follow the directions on how long to wait between coats because if you don’t give it enough drying time it won’t end up bonding as well as it should.
If you’ve never primed anything before, don’t panic if it looks splotchy and awful, because it will. It will make your top coat(s) look SO much better though and it will reduce the number coats you’ll need.
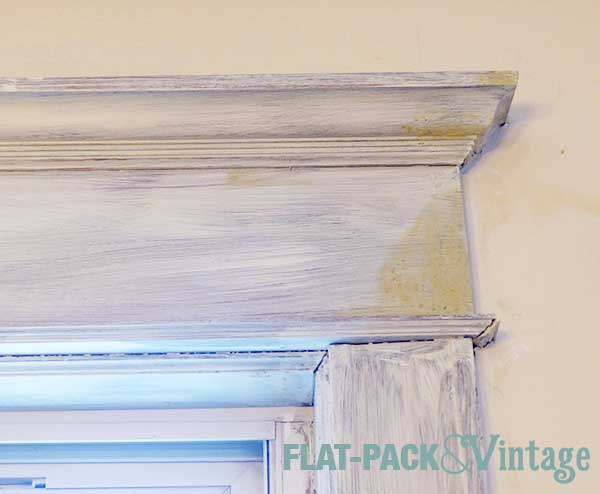
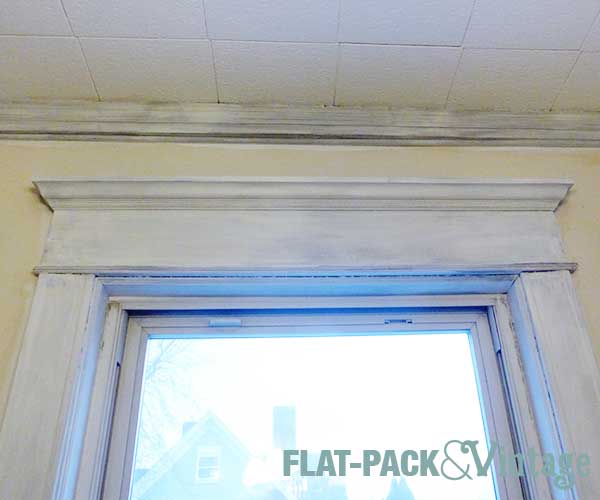
After priming, a bunch of old nail holes and assorted wear spots popped up. I should have touched them up before priming, but I wanted to illustrate the shape our trim was in.

All the top edges were like this from years of, I dunno, mounting curtain hardware directly to the trim? There were also holes and chips like this everywhere. Bits of the decorative moldings were chipped and the inside frame had gouges around the nail heads holding it in. I didn’t manage to get a good shot of the sill, but it was even worse.
I touched them up with wood filler and then went back the next day to sand and spot prime.
I’d say it’s looking better, but it really still looks like a construction zone here.