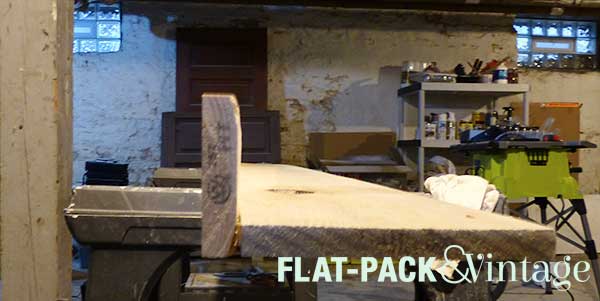
I know I’ve been light on the house updates lately, but this past week should make up for it! Last Wednesday night * Two Wednesdays ago my dad came into town and then my brother-in-law joined us on Friday night. Matt and I had taken off work for an Epic DIY Weekend and had a big ‘ol list of projects to try and tackle.
On Thursday we started looking for wood for our door and window casings. We already knew we had to custom route the vertical casings so we just need to get wood in the correct dimensions. Well, since the original casings in the rest of the house were 4.5″ inches wide, which meant dimensional lumber wouldn’t cut it.
We poked around through the trim section to see if there were any flat trim pieces that were 4.5″ wide. Nope. A bunch of 3.5, some 5.5, but no 4.5. Figures. At the end of the trim aisle though, were some door jamb pieces and kits. Do you know how wide a door jamb is? 4.5 inches! BOO-YA! Plus, the outside edges are slightly rounded like our moldings. Can I get another boo-ya? The only minor problem is that they’re 81″ tall, which is a bit short but we have plinths in every other room so that’s an easy fix.
Sounds perfect right? Only all the jambs at Home Depot were pretty warped. Arrrgh! Plan C now was to get 1×6’s and rip them down to size on a table saw. A table we don’t have…. My dad offered to buy us a table saw though! Some people give cribs as new baby gifts, my dad gives table saws. I pointed this out at the store and a nearby customer laughed and pointed out that table saws were way more useful.
Ok, so we have a plan! We have lumber! We have a saw! We’re good to go, right? Ehhhh. Because the door jambs were so incredibly perfect and my dad and I make up Team Insane Perfectionist we decided to swing by Menards to see if they sold the same thing and if they were any straighter. Success! Let’s roll!
My dad had brought along his router and router table so we figured we’d get that all set up and then zip the boards through like you would with a table saw. Easy-peasy right?
Um, nope.
There’s more resistence with a router blade than a table saw blade so it takes a LOT more effort to feed the wood though. Pair that with a longer board and it’s really hard to get a nice, consistent groove. The amount of effort it took to get one edge done (that didn’t even end up being a good edge), was clearly not going to work.
Ok, time for Plan B.
Back we go to the hardware store to pick up some inexpensive pine to make a jig. The jig consists of a 1×8 for the base and a 1×4 for the back guide that are screwed together in an L shape.
We knew we needed the raised edges on the casings to be 3/4″ wide so we did some quick math to determine where we would need to position the board, then screwed in some thin scrap wood as spacers. It needed to be tall enough to butt the board up against, but short enough that it wouldn’t interfere with the router.
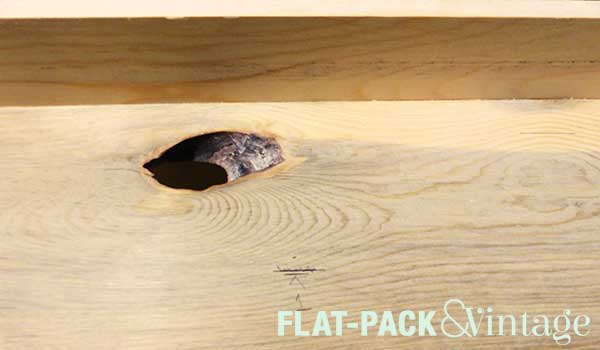
You don’t need to run your spacer pieces along the full length of the jig. The board won’t be moving, just the router, so you really just need to make sure you have nice, even spacers on each end so you can position the board well. It’s also worth mentioning that if you’re going to build a jig you want all the lumber you’ll be using to be as straight as possible. We may have spent a good 10 minutes pulling out board after board and checking it for straightness. Knots and splits don’t really matter, it just needs to be as straight as possible.
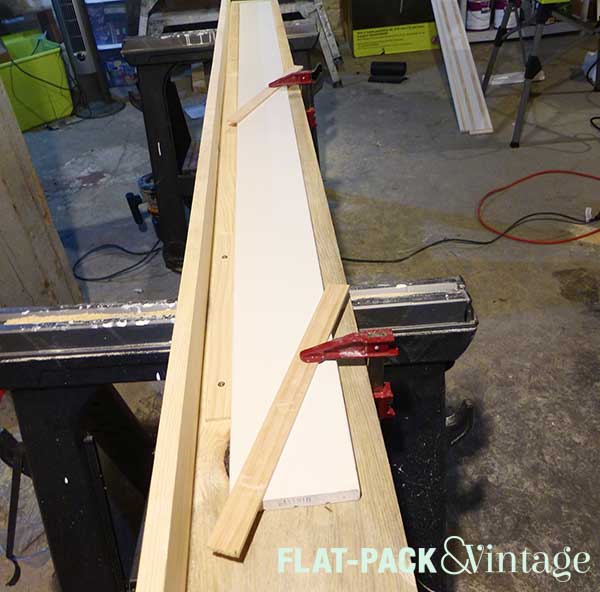
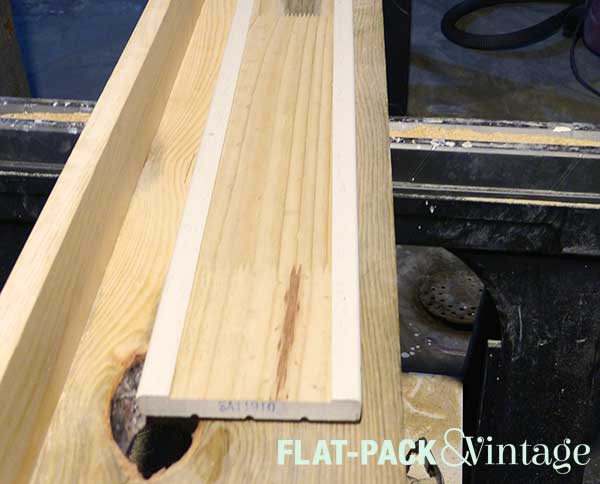
Once we had our jig set up, we clamped the wood into place and got to routing. We did have to stop at each clamp to re-position it, but that’s not a big issue.
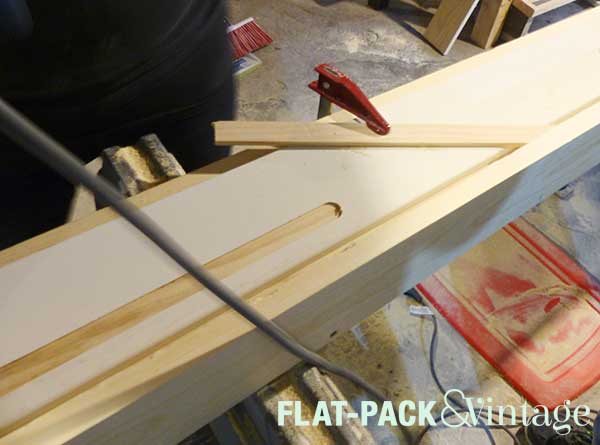
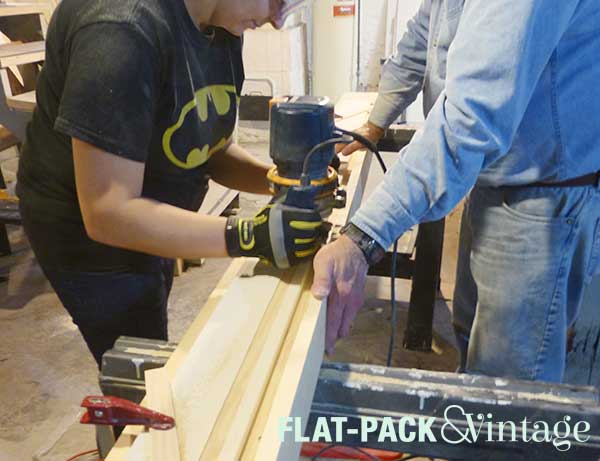
See my lack of a mask? Don’t do that.** Routing kicks up shit-tons of sawdust. I didn’t realize that right away (yes, I’m an idiot) so I didn’t put on a mask until I was about 1/2 way done… and then 2 days later I was in the ER with an asthma flair-up.
We did one pass, then flipped the board around to do the other edge.

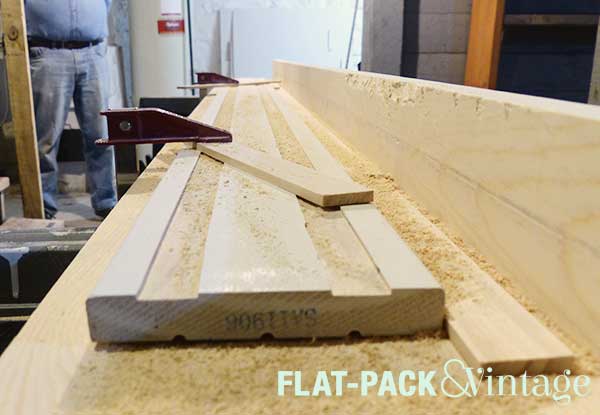
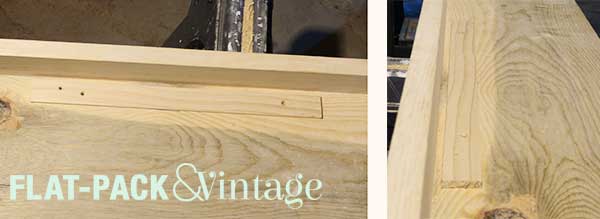
Bee-yoo-teee-ful. But now there’s still a chunk left in the center. We re-measured to see how far out the next pass would have to be, but this time just marked lines on our jig. The outermost passes were the ones that really had to be precise, so for these we just lined the board up with the marks and had the second person simply hold it in place.
Aaand then you flip it around and do the same thing to the other side.
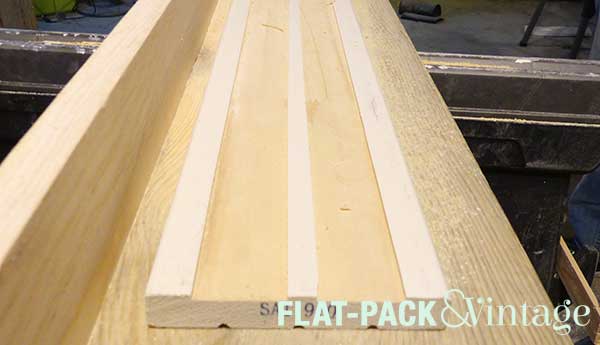
Now we’re left with one tiny strip in the middle. Now, you guessed it, we measured, marked, and re-positioned the board. The narrow strips we used as spacers for the edges were the perfect width to position the board to get the center strip. We flipped them vertical to line up the board and pulled them out once someone was holding the board in place.
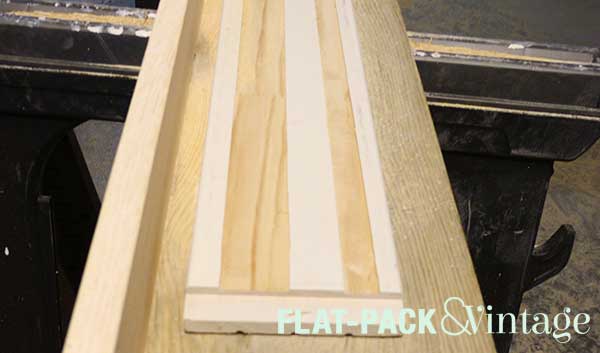
SHAZAAM!
Some of you may be wondering why we bothered painted the boards if we were just going to strip a bunch of it off. Well, we didn’t; the boards came pre-primed. We didn’t need them too, but they were the only real wood (not particle board or MDF option). The bonus is there’s a much better contrast in my pictures.
Just take a look at these beauties compared the original casings!
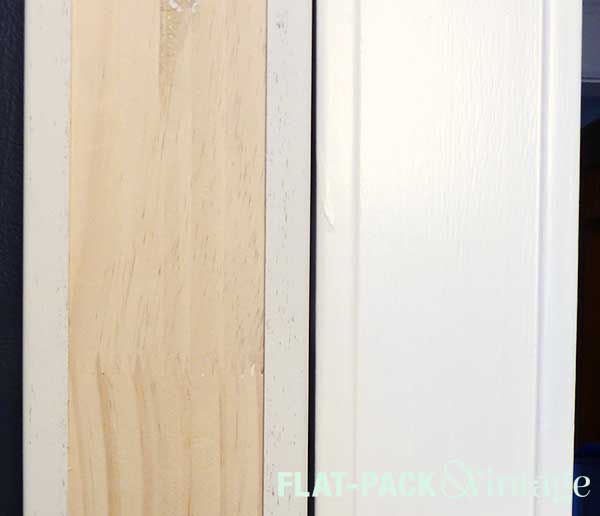
I’m giving them a rating of PDG: Pretty Darn Good.
*I may have been a little slow in publishing this….
**See my awesomely coordinated gloves and Batman shirt? Not planned at all, but you can totally copy that. Also, I hate pregnant-me in pictures. In real life I feel totally fine but I see a picture and can only quote Spaceballs–“Why didn’t anyone ever tell me my ass was so big?!” My amazing and supportive husband responded to this with “Well, you’re supposed to be getting bigger.” This is the same amazing guy who once told me “I like how fat you are” and said I looked like “a yellow whale” after trying on a very unflattering maxi dress. He may suffer from foot-in-mouth disease. I’m hoping for the “pregnant glow” before we get a professional pregnancy shoot done, but so far I’ve just been breaking out like a teenager.