Our house has this goofy air-lock style entryway. The porch seems to be an addition so the double entry would have provided some extra insulation back in the day. Lacking a better term, I’ll be referring to this mini space as “the vestibule.”
I don’t actually have any good before pictures because I honestly didn’t give the space much thought before we started working on it. You can see a bit of it from this picture of the entryway.
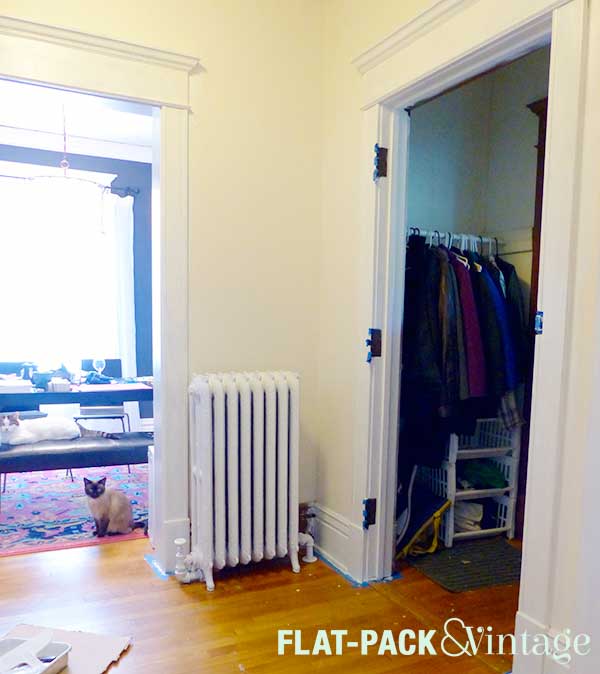
The storage consisted of a single, junky closet rod. While we do need a place to store coats, we could do a little better in the style department.
We ripped out the rod and the 2 boards that were poorly attached to the wall. There was some wall damage underneath the boards, but that was fixed with a few layers of joint compound and some sanding. Then we installed new boards (1x6s) so the closet rod would have better place to anchor than plaster. We used 3 boards set in a U shape, rather than just 2 on the sides because we wanted a shelf above the rod for extra storage.
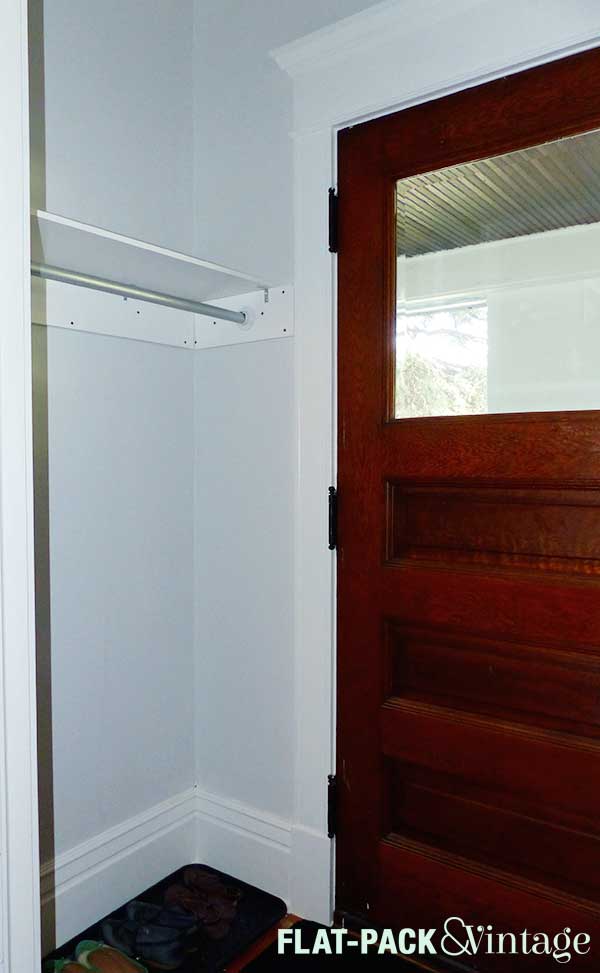
Looking good, huh? The boards are the same color as the trim (BM Simply White) and the wall color in the same as the rest of the entryway (BM Paper White). The screws still need to be camouflaged, and the rod is getting a coat of paint this very minute so it looks less like a pipe.*
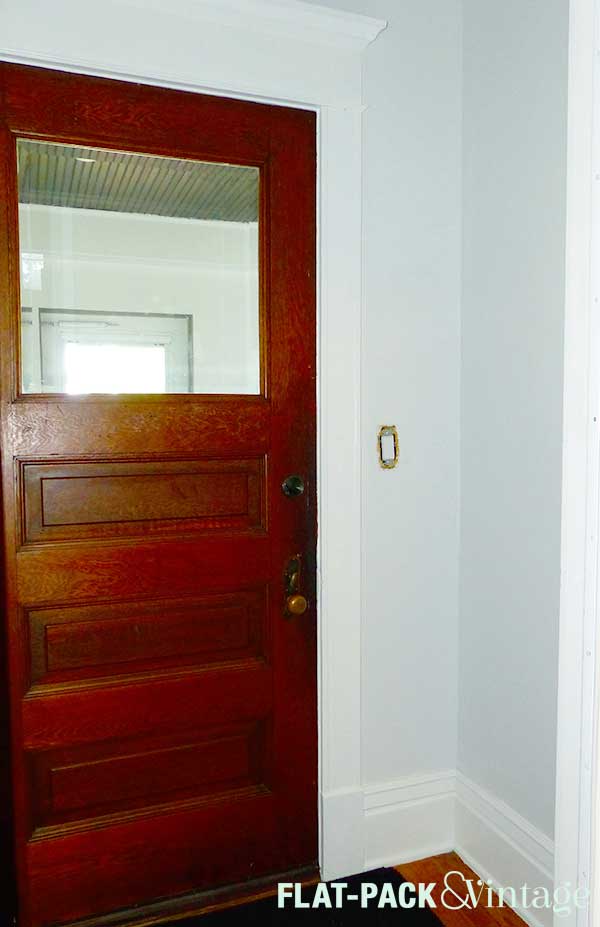
The only other notable feature in the vestibule was the light switch for the porch light. It was sort of gross looking and the cover plate had been painted over like a billion times. Easy fix though, right?
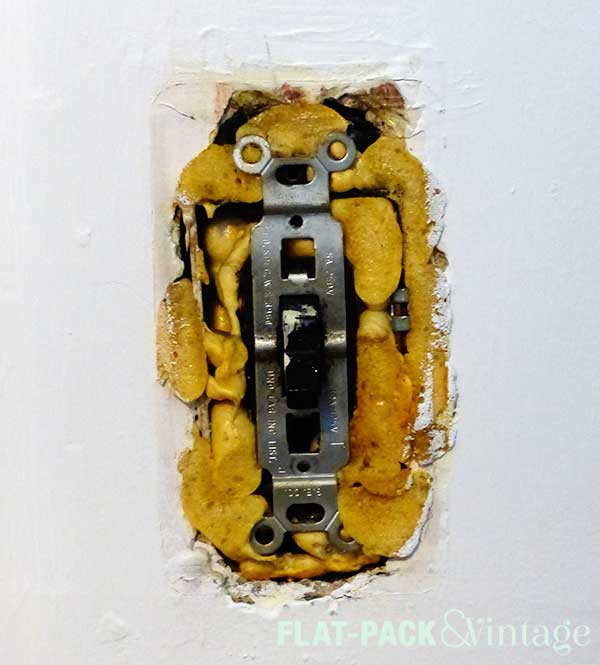
This is what I found when I removed the cover plate. What. The. Fuck. Apparently they wedged the switch into a mass of spray-foam insulation. There weren’t even any screws holding this thing in place. Why? I have no freakin clue.
After cutting the power, I pried out the switch and the surrounding insulation. Thankfully it wasn’t that difficult, I just scraped it out with a flat-head screwdriver. I probably should have used a non-conductive tool but I wasn’t terribly concerned with the power off (plus I’d already be using a screwdriver while replacing the switch anyway). Then it was just matter of attaching a new, non-grody switch.
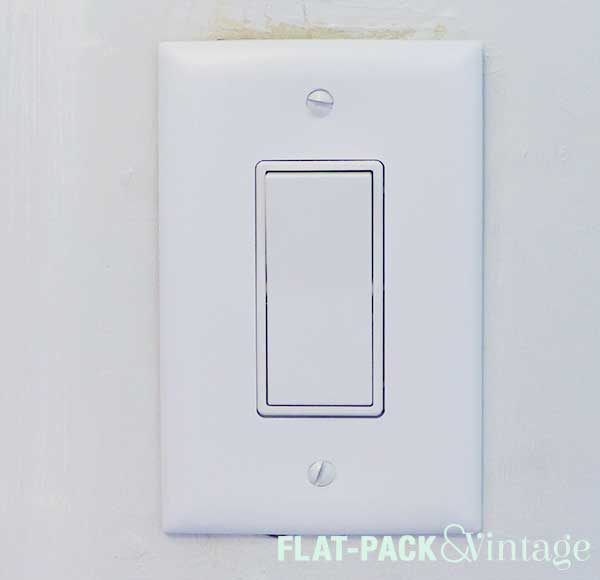
Not to shabby, huh? A little touch-up paint is needed, but it’s still a huge improvement. I also added some insulation that was actually designed for light switches/outlets. Crazy idea huh? You can find foam plates that are cut to fit around the switch and inside a cover plate. Easy-peasy and not a bad idea for exterior walls…. especially in older homes.
*Which is what it is–piping in the same diameter was cheaper than the wooden closet rods… go figure. We had this left over from when we added a closet rod to my closet, so you get more length too.