Sexy music is optional, but I highly recommend it.
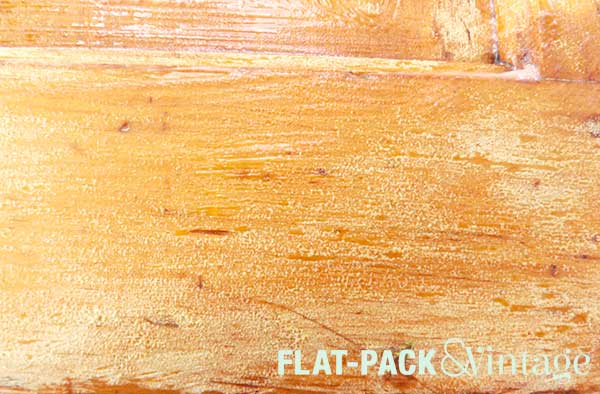
Anytime you want to refinish a piece of wood furniture with a different stain, the first step is to strip off the old finish. Even if you plan on painting you may still want to strip off the old finish if it’s lumpy. If you’ve been looking into re-staining a piece you may have discovered gel stain and its claims of little-to-no prep work. I’ll get into more detail on stain later on, but if you’re interested in preserving the wood grain you’ll want to skip the gel stain and read on. Like a lot of DIY projects it’s time consuming, but not technically difficult. Actually, it’s really hard to screw this up too badly at all.
Supplies
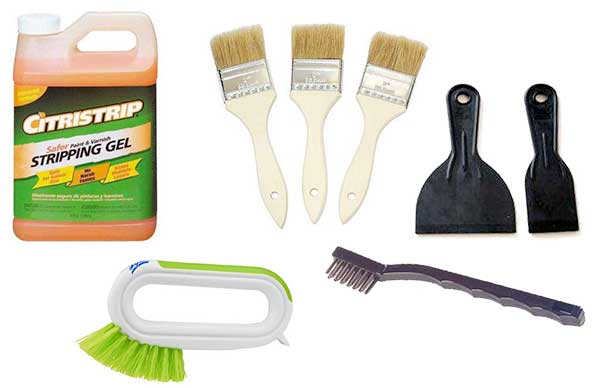
- Stripper
- Chip Brushes (I used 2″ brushes)
- Plastic putty knives
- Small, stiff bristle brush
- Small wire brush
How To Do It
In the past I’ve used Smart Strip but this time around I decided to give Citri-Strip a go. It’s still low odor and biodegradable, but it more readily available at pretty much every big box hardware store. The process is the same with both, just make sure to work in a well ventilated area with appropriate skin protection.
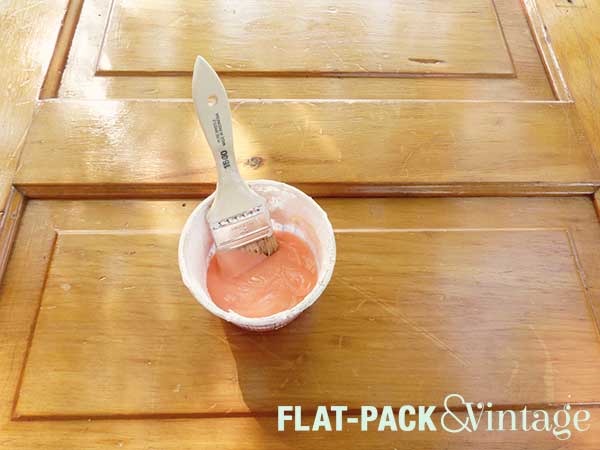
Paint the stripper on your surface in a fairly thick coat. If you’re using Citri-Strip do NOT use a foam brush, the stripper will start eating through the foam. Yes, I learned this lesson the hard way and inexpensive chip brushes are definitely the way to go. Do your best to cover the entire surface, but the Citri-Strip can be hard to see so you may end up missing something (but don’t worry!). For my particular project I found that waiting about 15-20 minutes after applying the stripper was perfect.
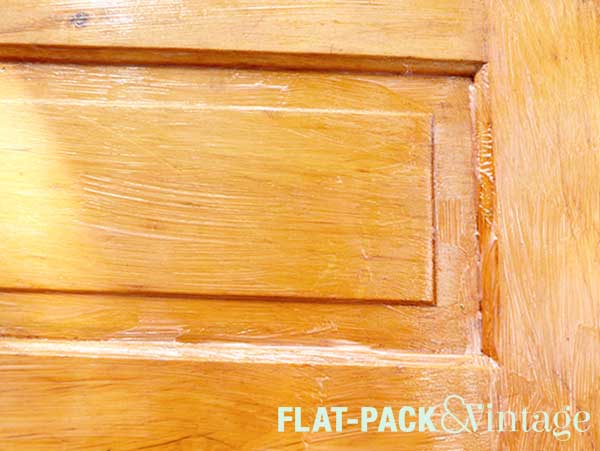
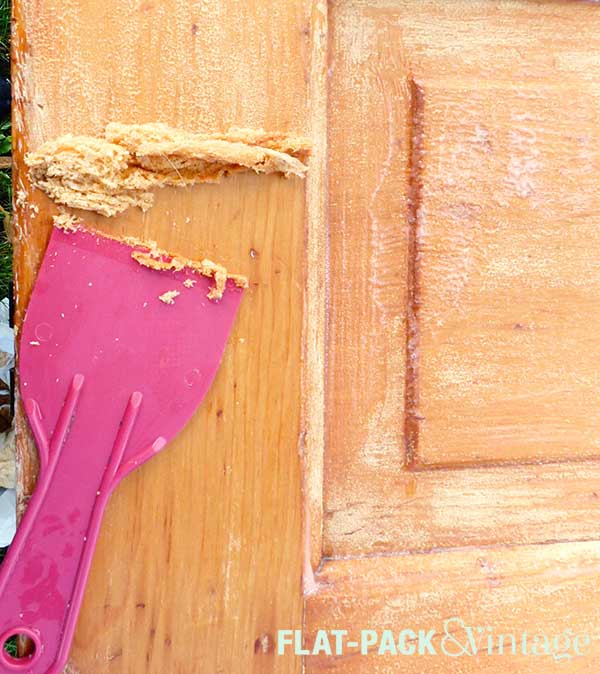
Once your stripper has kicked in (it will change color a bit and show some bubbling) it’s time to scrape it all off. I was working over a plastic (disposable) drop cloth, but I also lined a metal bowl with a plastic bag to catch most of the gunk. Use a plastic (less likely to scratch) putty knife to scrape off all the stripper and all the finish it’s taken off. Not gonna lie, it’s pretty gross. If you have any intricate corners or trim, you can scrape them out with a stiff scrub brush.
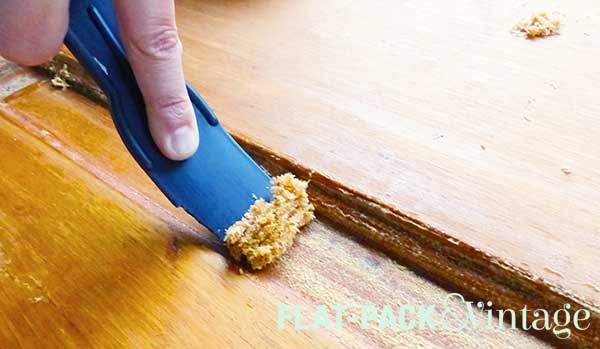
Side note: did you know it’s near impossible to find a putty knife narrower than 1.5″? If you have a raised panel door like I do the indents around the panels may be less than 1.5″…. argh! I eventually picked up 1.5″ plastic putty knife and used a hack saw to shave just a little bit off the edge–perfection for under $1 and about 2 extra minutes of work.
There will probably be some little bits of gunk that get left behind. If you let them dry out a bit you can brush the off with a clean scrub brush or vacuum them up with a shop vac. Then I looked for any areas that were still shiny with varnish and, if needed, dabbed on some more stripper.
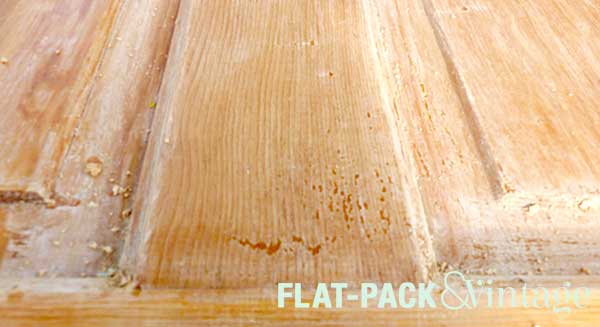
Any areas that were proving especially stubborn I would scrub with a wire brush instead of scraping with a putty knife. This was especially helpful in the more detailed areas. I only used the wire brush on the toughest spots because it can scratch up the wood. Use it sparingly and only scrub (medium firmness, no need to put your back into it) with the grain and you should be fine. If you plan on re-staining you’ll want to make sure you have every bit of varnish off otherwise the stain won’t absorb into those areas and you’ll get an uneven finish. No bueno.
Next time: how to prep your piece for finishing.