Last week I went over my favorite tools and products for painting. Today I’m going to cover my process for painting walls. Painting walls really isn’t difficult so if you have the time and aren’t afraid of getting a little messy it’s probably not worth hiring out,* especially if you’re working on a budget.

There are multiple different techniques for painting, but this is what works well for me. If you’ve got your own awesome tips, tricks, and techniques feel free to chime in in the comments!
If you have carpeting, you’re going to want to drop cloth the bejeezus out of it (unless you’re planning on replacing it, then make sure you paint first and voila! Built-in drop cloth). I’ve had hardwood floors for years and, um, don’t actually do much of anything to protect them. If you drip a little paint you can wipe it right off while it’s still wet and even if you don’t catch it before it dries you can scrape it off or use some Goof Off. I really just use a big scrap of cardboard to pile my roller tray and paint can on and just shove it around the room with me as I go. Carpet is not as forgiving, so you’re going to want to be careful about protecting it.
Cutting In
I start by cutting in. In a perfect world you’d keep a wet edge everywhere you go, but if you’re working solo that’s not always practical. I cut in using a 2″ angled brush (I hardly ever tape anymore) and make sure I cover at least 4″ or so away from the edge so I don’t have to worry about my roller bumping the ceiling or trim. When cutting in you also want to feather out your wet edge so you don’t end up with a line as it dries. Basically, once you have most of the paint off your brush (or edger) come back over inner edge of your paint and smooth it out any excess paint.
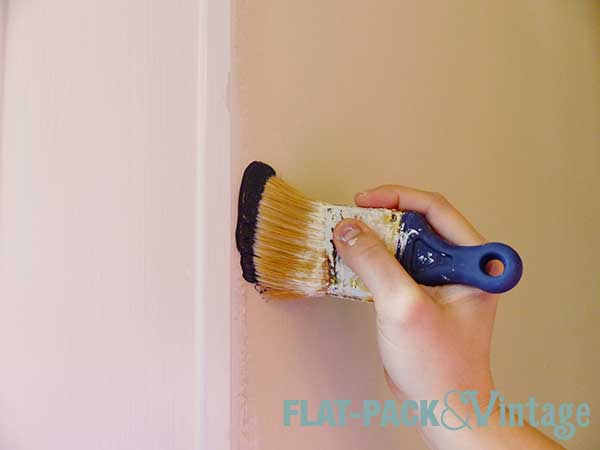
To get a nice clean line (without tape!) I start by dipping just the tip of my brush into the paint.
***It’s important to have a good brush if you’re going to do this. I used a crappy one once and it was a gigantic mess! I’ve been super happy with the Wooster Shortcut for cutting in and I think the short handle makes it very easy to control.***
Set the brush down on the wall a little bit away from the edge,

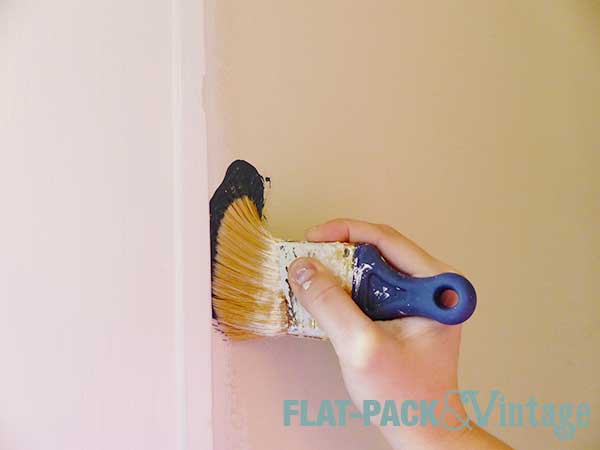
Then smoosh the bristles down a bit so they fan out slightly.
Then slowly sweep the brush towards the edge.
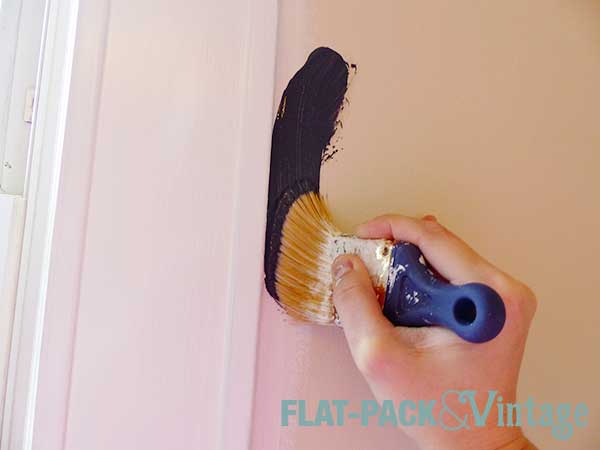
And finally, drag the brush downward (or across for horizontal edges) keeping only the very tip the bristles against the edge. You can see I also still keep the brush at a slight angle so only a small section of it is coming into direct contact with the trim.
Work slowly and don’t load too much paint onto your brush. If you’re worried about your cutting-in skills, you can still tape your edges and practice to see how much paint really ends up on the tape.
Walls
The open areas of walls are the easy parts. Load your roller up with paint and then use the textured part of your paint try to roll off excess.
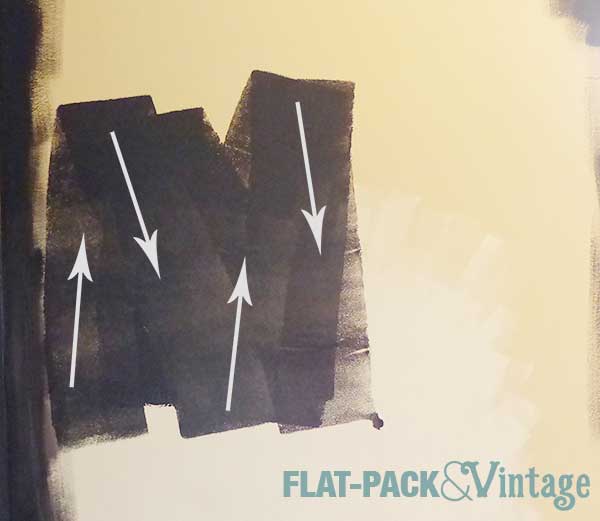
I work in a N pattern on the walls (most people say W, but I tend to actually make an N or M)–roll your paint on in a 2-3 foot N….
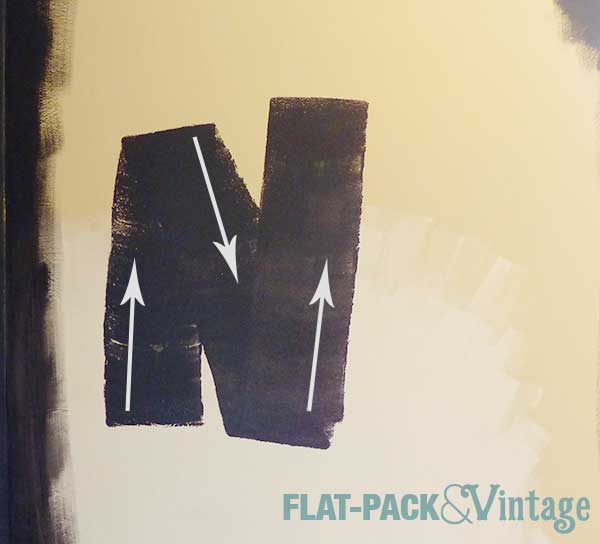
….and then roll right back to fill it in. This distributes the bulk of the paint from your roller and then spreads and evens it out as you come back over it. I set my roller down to get the picture so I starting rolling again on the same side I started with. If I’m not pausing in between I’d naturally roll my N then double back the way I came, just slightly off-set… whatever works.
 Your may have to go back and forth a couple times to fill it in nicely, but don’t add more paint to your roller, just work with what’s already up on the wall.
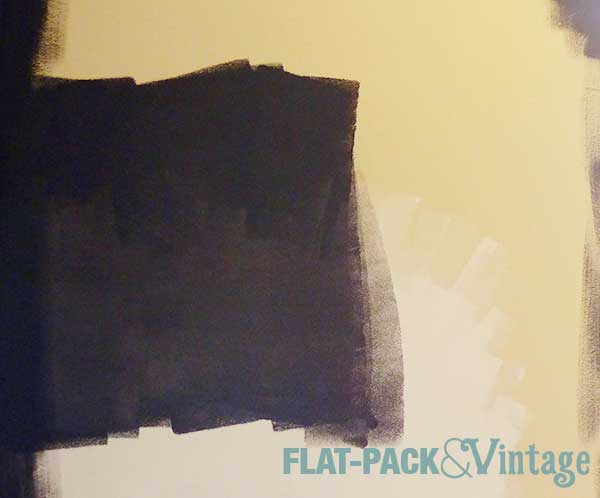
Once you’ve filled in your N then you can go back for more paint. Start a new N (or M or W) shape, slightly overlapping your previous section and repeat.
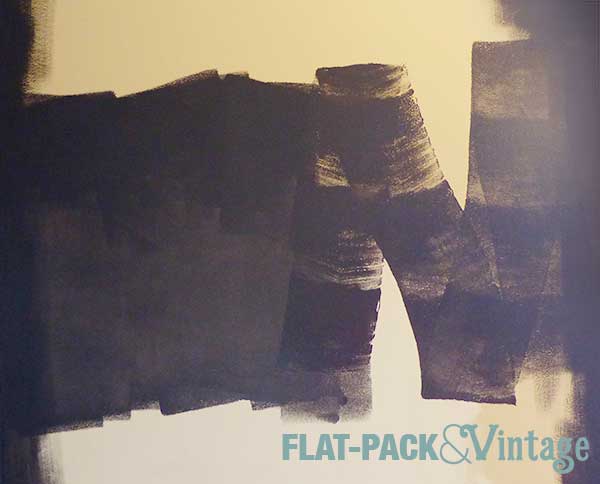
When working with a roller make sure you don’t have too much paint on it (it should be saturated but not dripping) and roll slowly. This will minimize both paint drips and spray from the roller. You also want to slightly overlap your previous section each time. This keeps a wet edge and helps each section of paint better blend into the other. You also don’t need to put a lot of the pressure on the roller–remember, you’re rolling, not scrubbing. If you find yourself scrubbing with the roller it’s probably a sign you need a new cover.
If you need to stop partway through (waiting a couples hours until the next coat, ran out of time for day, etc) you don’t have to wash out your brush and roller. Wrap them in plastic wrap, and if you’re not picking back up until the next day, stick them in a cool place like the fridge (we were out of room in our fridge, but our basement’s pretty cold so I stuck mine there).
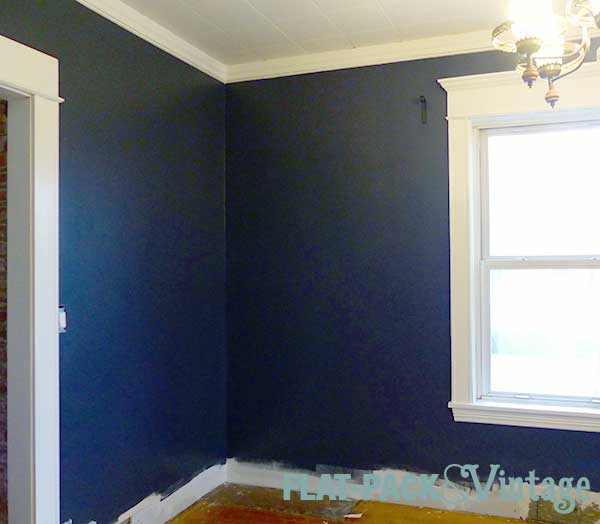
No too scary, right?
Also, how absolutely amazeballs does this color look????
Let’s Talk About Paint
*Super tall walls and stairwells are TOTALLY worth hiring out in my opinion, but I’m not so good with ladders. Also ceilings. Painting ceilings is a bitch.
I actually like to have a pretty acute angle between the wall and my brush. But that’s just me. The important thing is to know where your paint line is going and to trust it to stay there.